The 4-Ingredient No-Bake Jello Cheesecake That Saved My Sanity (And Will Save Yours Too)
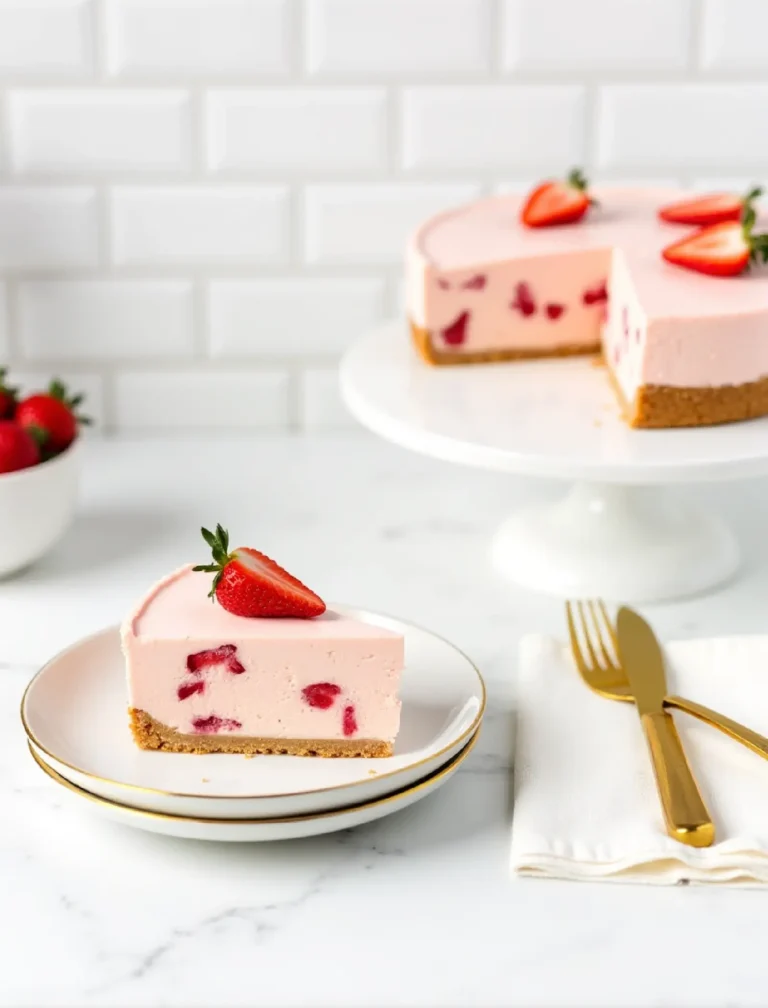
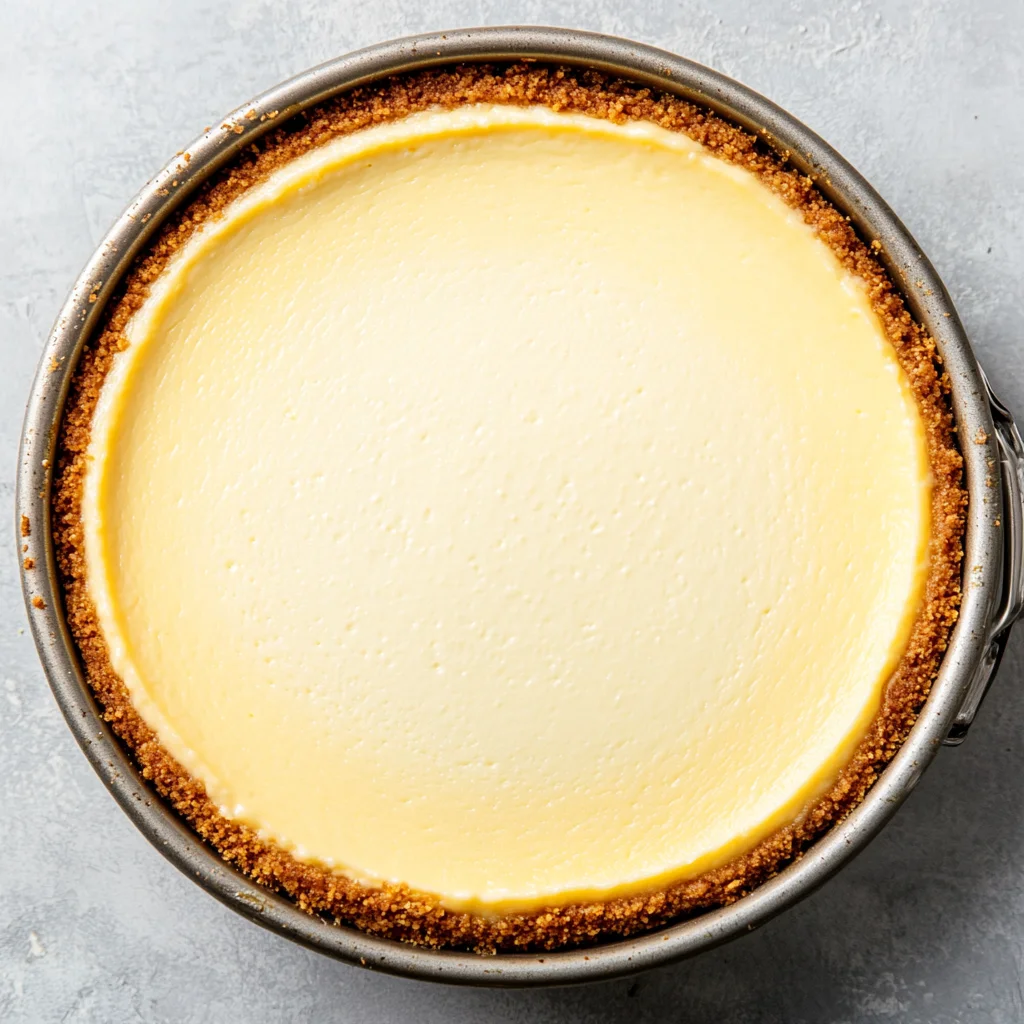
This no-bake jello cheesecake is the perfect, easy summer dessert with a creamy, tangy filling and a classic graham cracker crust.
Sometimes the most magical moments in the kitchen happen when you’re not even cooking. This no-bake cheesecake embodies that philosophy perfectly—it’s the dessert that saves the day when time is short, the oven is broken, or you simply want something deliciously satisfying without the fuss.
What makes this recipe truly special isn’t just its simplicity, but its reliability. In my years of making this dessert, I’ve watched it rescue countless dinner parties, school bake sales, and last-minute celebrations. The secret lies in the science of instant pudding—those tiny granules contain modified starches and stabilizers that create a perfectly creamy texture without any eggs, baking, or complicated techniques.
The beauty of this recipe extends beyond convenience. It’s endlessly adaptable, allowing you to experiment with different pudding flavors, spices, and toppings. Whether you’re making it for a summer barbecue, a child’s birthday party, or simply because you’re craving something sweet, this cheesecake delivers consistent results every single time.
Looking for inspiration? Try our No-bake frozen desserts—another easy no-bake treat for clean snacking.
Ingredients
- 8 oz package cream cheese, room temperature (this is crucial!)
- 2 cups whole milk
- 1 package Jell-O Vanilla Instant Pudding mix
- 1 store-bought or homemade graham cracker crust
Instructions
Step 1: Prepare the Cream Cheese Base
Beat the cream cheese with ½ cup of milk until completely smooth. Use a stand mixer or hand mixer for best results. The key is patience—keep beating until there are absolutely no lumps. This typically takes 2-3 minutes with a stand mixer.
Step 2: Add Remaining Ingredients
Add the remaining 1½ cups of milk and the entire package of instant pudding mix. Beat until smooth—this usually takes another 2 minutes. You'll notice the mixture thickening almost immediately as the pudding's magic begins to work.
Step 3: Fill the Crust
Pour the filling into your prepared graham cracker crust and smooth the top with a spatula. Give the pan a gentle tap on the counter to release any air bubbles.
Step 4: Chill and Set
Chill in the refrigerator for at least one hour. While it's tempting to check frequently, trust the process. The longer it chills, the better it sets.
Step 5: Serve and Enjoy
Slice with a sharp knife wiped clean between cuts for the neatest presentation. Serve chilled with your favorite toppings.
Popular Variations
Lemon Sunshine Cheesecake
Swap vanilla pudding for lemon instant pudding and add ½ teaspoon fresh lemon zest to the cream cheese mixture for a bright, citrusy twist.
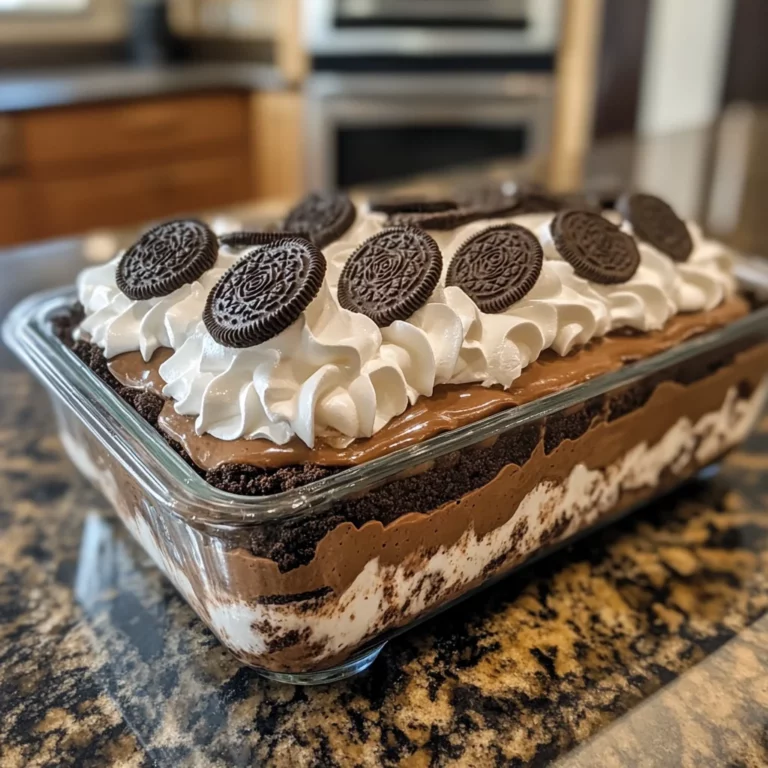
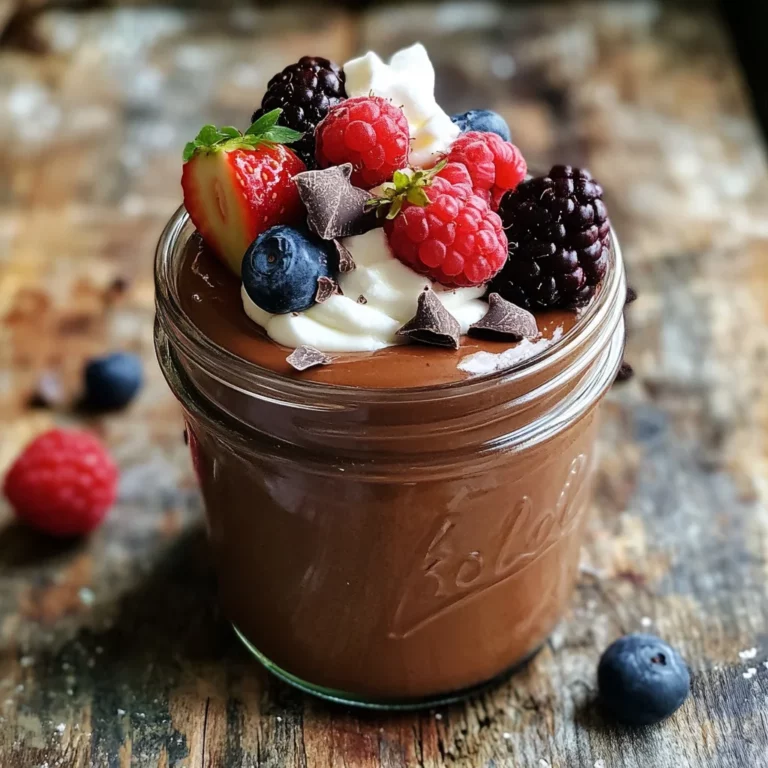
Chocolate Lover's Dream
Use chocolate instant pudding instead of vanilla. Add mini chocolate chips to the mixture for extra indulgence.
Spiced Autumn Version
Stick with vanilla pudding but add ½ teaspoon cinnamon and a pinch of nutmeg to the cream cheese mixture. Top with a sprinkle of cinnamon before chilling.
Almond Joy Inspired
Use vanilla pudding and add ½ teaspoon almond extract. Top with toasted coconut flakes and sliced almonds.
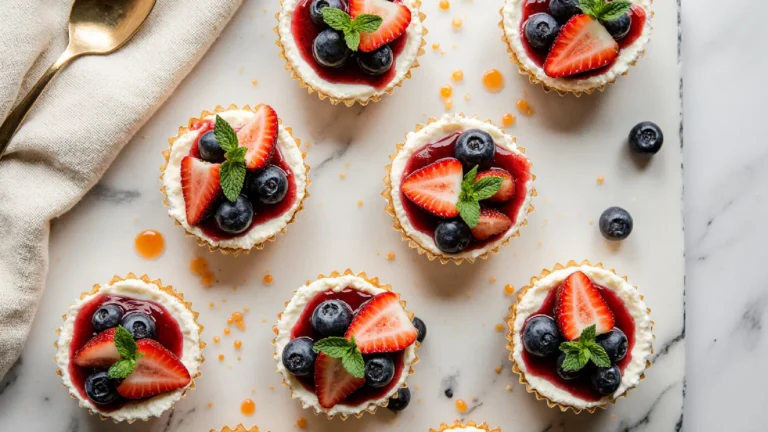
Recommended Toppings
- Fresh Berry Medley: Macerated strawberries with sugar
- Peachy Keen: Fresh or thawed frozen peach slices
- Blackberry Elegance: Fresh blackberries scattered on top
- Classic Fruit: Any seasonal fruit of your choice
Storage Instructions
Store covered in the refrigerator for up to 3 days. The cheesecake actually improves after sitting overnight as the flavors meld together and the texture becomes even more creamy and set.
Troubleshooting Tips
Lumpy texture? This almost always comes from cold cream cheese. Ensure it's at room temperature before mixing.
Too thin? Make sure you're using instant pudding (not cook-and-serve) and whole milk for proper thickening.
Won't set properly? You might have overmixed after adding the pudding. Beat just until combined once pudding is added.
The Best Jello No Bake Cheesecake Guide: 5 Simple Steps
Course: dessertCuisine: AmericanDifficulty: Easy8
servings5
minutes1
hour285
kcal1
hour10
minutesThis no-bake jello cheesecake is the perfect, easy summer dessert with a creamy, tangy filling and a classic graham cracker crust.
Ingredients
8 oz package cream cheese, room temperature (this is crucial!)
2 cups whole milk
1 package Jell-O Vanilla Instant Pudding mix
1 store-bought or homemade graham cracker crust
Directions
- Beat the cream cheese with ½ cup of milk until completely smooth. I use my stand mixer for this, but a hand mixer works perfectly fine. The key is patience—keep beating until there are absolutely no lumps. In my testing, I've found this takes about 2-3 minutes with a stand mixer.
- Add the remaining 1½ cups of milk and the entire package of instant pudding mix. Beat until smooth—this usually takes another 2 minutes. You'll notice the mixture thickening almost immediately. That's the magic of instant pudding at work!
- Pour the filling into your prepared graham cracker crust and smooth the top with a spatula. Here's a pro tip from my pastry days: give the pan a gentle tap on the counter to release any air bubbles.
- Chill in the refrigerator for at least one hour. I know it's tempting to check it every fifteen minutes (Jake certainly does), but trust the process. The longer it chills, the better it sets.
Notes
- Room temperature cream cheese is essential - Cold cream cheese will create lumps that won't smooth out, even with extended mixing. Let it sit at room temperature for 30 minutes before starting.
- Use instant pudding mix, not cook-and-serve - Only instant pudding contains the stabilizers needed to thicken without cooking. Cook-and-serve pudding will not set properly in this recipe.
- Don't overmix after adding pudding - Beat just until combined once you add the pudding mix. Overmixing can break down the thickening agents and prevent proper setting.
- Chill for minimum 1 hour, but overnight is better - While the cheesecake sets in 1 hour, the flavors meld and texture improves significantly after chilling overnight. Cover with plastic wrap to prevent a skin from forming.
This recipe has been family-tested and perfected through countless iterations. The combination of convenience and delicious results makes it a true kitchen workhorse that belongs in every home cook's repertoire.
For more recipes follow us on Facebook and Pinterest.