Frozen Banana Peanut Butter Bites: The Best 2025 No-Bake Dessert
Let me tell you about the afternoon that changed everything. It was one of those sweltering Portland days where even the ice cream truck seemed too hot to approach, and my kids Emma and Jake were doing that thing where they open the freezer every five minutes hoping something magical would appear. “Mom, we’re hungry, but not for anything we have,” Emma announced with the dramatic flair only a 9-year-old can muster.
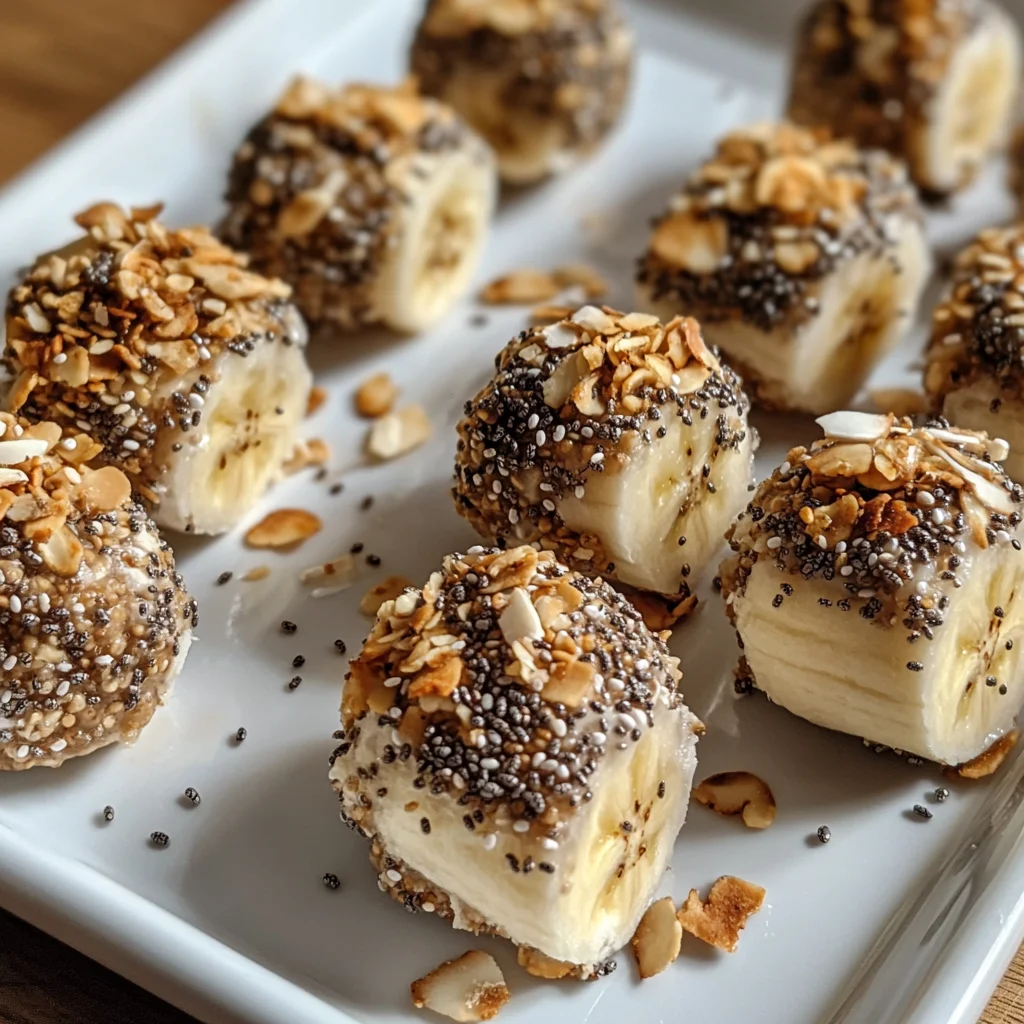
That’s when I remembered something from my pastry chef days—sometimes the best solutions are the simplest ones. I grabbed three ingredients from my kitchen: bananas that were getting a bit too spotted for school lunches, natural peanut butter, and some Greek yogurt. Twenty minutes later, I had a batch of frozen banana peanut butter bites that not only satisfied my kids but actually made me feel good about what they were eating.
Here’s the science behind why these work so well: bananas provide natural sweetness and potassium, peanut butter adds protein and healthy fats, and that optional layer of Greek yogurt? It’s like adding a creamy protein boost that makes these bites feel more substantial than your average snack.
What You’ll Learn (And Why Your Kids Will Thank You)
- The foolproof 3-ingredient method that works every single time
- Why texture matters and how to avoid the dreaded mushy banana syndrome
- Creative variations that keep things interesting for picky eaters
- Storage secrets from my pastry days that maintain perfect texture
- Kid-friendly assembly tips that turn snack prep into family time
Why These Bites Work When Other Healthy Snacks Fail
I’ll be honest—I used to be skeptical of “healthy” treats that promised to taste like the real thing. But here’s what I discovered after testing this recipe with my two toughest critics (aka my children): it’s not about tricking kids into eating healthy food. It’s about creating something that’s genuinely satisfying.
Emma calls these “science cookies” because I always explain what’s happening as we make them. The freezing process transforms the soft, sweet banana into something with the texture of ice cream, while the peanut butter creates a rich, satisfying base that keeps hunger at bay. Jake, who’s usually suspicious of anything that doesn’t come in a package, asks for these by name.
From a nutritional standpoint, each bite delivers about 100-120 calories with a perfect balance of carbohydrates for quick energy and protein for staying power. That’s roughly the same calories as a granola bar, but with ingredients you can actually pronounce.
The Method That Never Fails (Even When You’re Distracted)
After making these approximately fifty times (my kids’ count, not mine), I can tell you exactly where things go right and wrong. The beauty of this recipe is its forgiveness—there’s very little you can mess up if you follow these basic principles.
What You’ll Need:
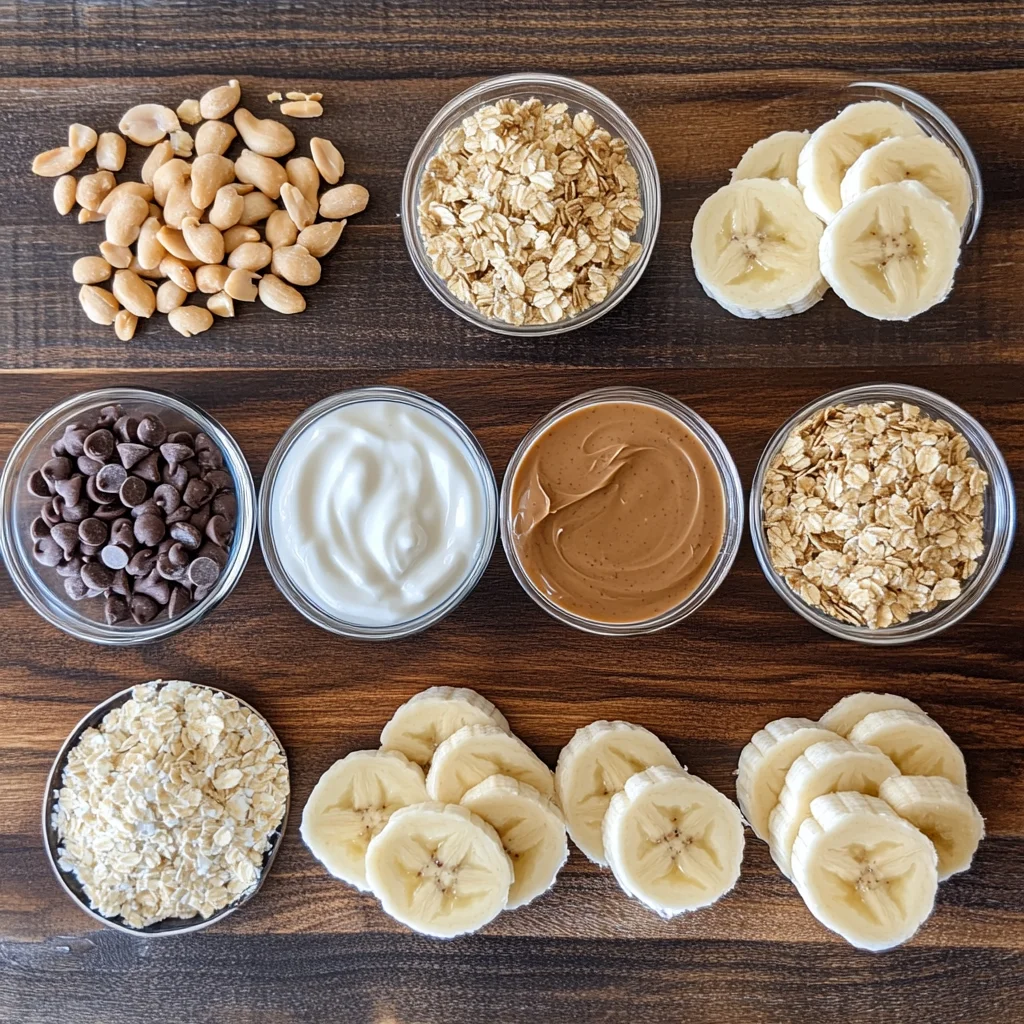
- 2 medium bananas (ripe but still firm—think yellow with just a few brown spots)
- ⅓ cup natural peanut butter (I swear by the kind with just peanuts and salt)
- ⅓ cup plain Greek yogurt (optional, but I always include it for the protein boost)
- Mini muffin tin or silicone molds
The Step-by-Step Process:
Step 1: Set up your assembly line. This is crucial when kids are helping. Line your mini muffin tin with paper liners or use silicone molds (my preference—they pop out so cleanly). Have all your ingredients ready to go.
Step 2: Create the peanut butter base. Spoon about a teaspoon of peanut butter into each cup. Don't worry about perfect measurements—I've found that eyeballing works just fine. Spread it out to create a foundation.
Step 3: Add your banana layer. Slice bananas into thick rounds, about ½ inch. Here's where my pastry training comes in handy: consistent thickness means even freezing. Place one slice over the peanut butter in each cup.
Step 4: Top with yogurt. Add a dollop of Greek yogurt and spread it evenly over the banana. This layer does more than add flavor—it acts as a protective barrier against freezer burn.
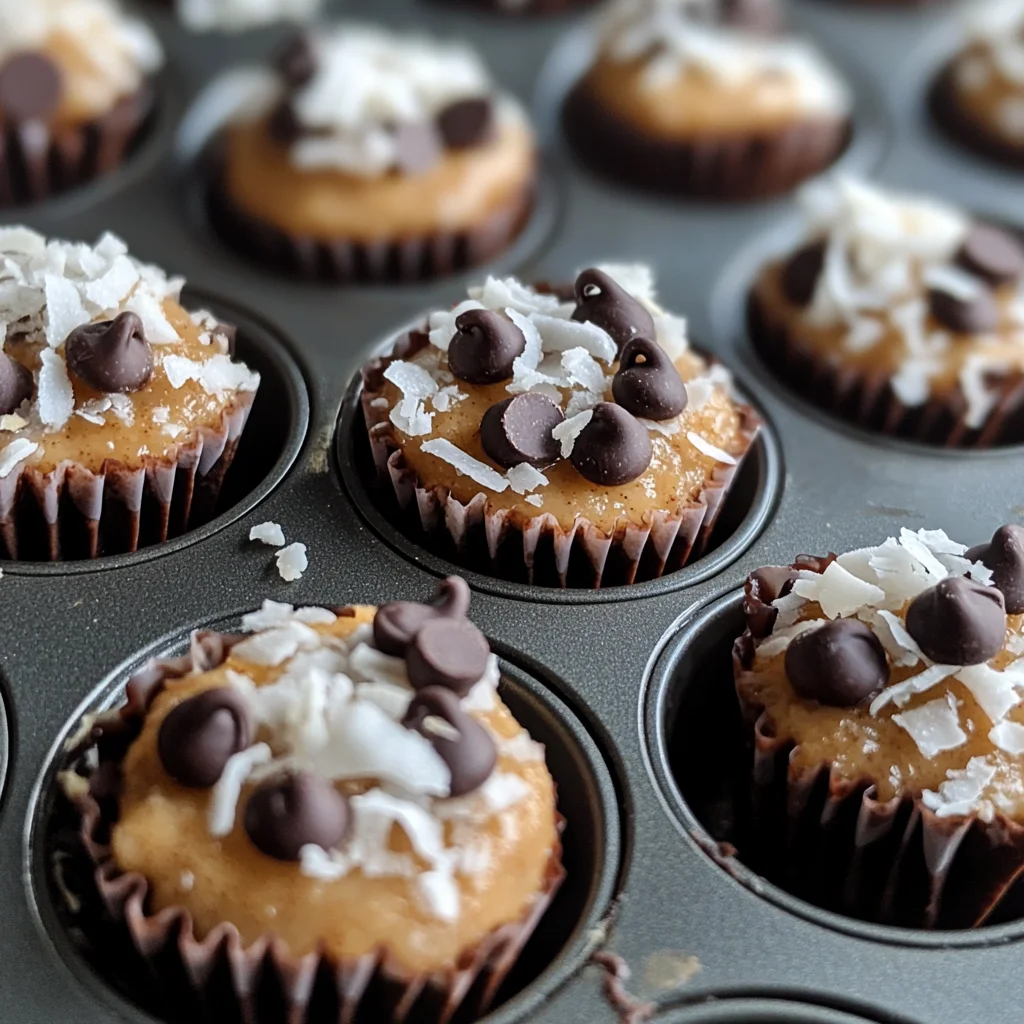
Step 5: Customize (this is where kids get creative). Mini chocolate chips, shredded coconut, crushed nuts, granola—whatever makes your family happy. Emma always goes for chocolate chips, while Jake prefers his plain.
Step 6: The waiting game. Freeze for at least 2-3 hours until completely solid. Pro tip from my pastry days: resist the urge to check them too early. Good things take time.
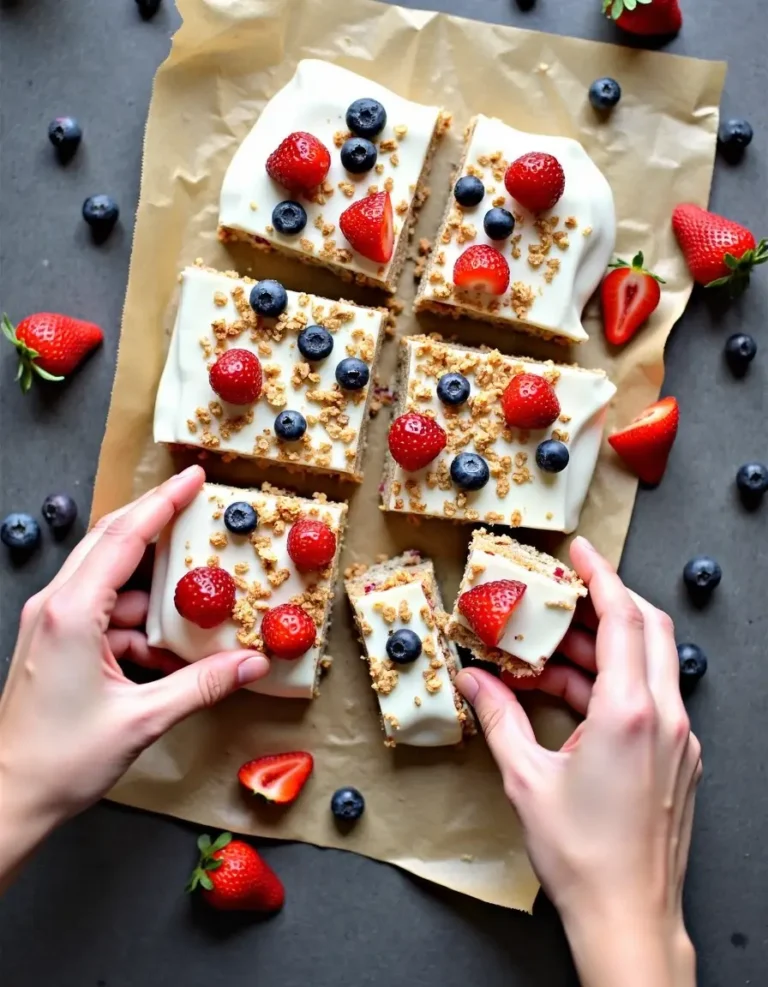
Looking for sweet nostalgia? Don’t miss our 7 No bake bar squares—a classic dessert in mason jar style.
The Science Behind Perfect Texture (Why Some Batches Fail)
Here's the thing about frozen bananas—they can be tricky. I learned this the hard way during Jake's seventh birthday party when I made a batch that turned into mush the moment they hit room temperature. After some experimentation (and a few more kitchen disasters), I figured out the science.
Temperature matters more than you think. Bananas contain a lot of water, and when that water freezes and thaws, it breaks down the cell walls. That's why overripe bananas turn into banana pudding when frozen and thawed. The key is using bananas that are sweet but still have some structural integrity.
The Greek yogurt layer isn't just for protein—it's your insurance policy. It creates a barrier that slows down the thawing process and helps maintain the banana's shape. Plus, it adds that creamy element that makes these feel more like a proper dessert.
Variations That Keep Everyone Happy
One of the things I love about this recipe is how adaptable it is. My husband is diabetic, so I often make a batch with sugar-free chocolate chips. Emma goes through phases—sometimes she wants coconut, sometimes it's all about the granola crunch.
The Chocolate Lover's Version:
Once your bites are frozen solid, melt some dark chocolate and dip each bite halfway. Let them set on a parchment-lined sheet. It's like having your own healthy version of those expensive frozen chocolate-covered banana treats.
The Tropical Twist:
Replace the peanut butter with almond butter and top with shredded coconut and a few mini pineapple pieces. Emma discovered this combination and now calls them "vacation bites."
The Protein Power Version:
Mix a scoop of vanilla protein powder into the Greek yogurt before adding it to the bites. Perfect for post-workout snacking or growing teenagers who need extra fuel.
Storage Secrets (From Someone Who's Made Every Mistake)
I've learned the hard way that proper storage makes the difference between bites that taste fresh for weeks and ones that develop that weird freezer taste after a few days.
Use airtight containers. I cannot stress this enough. Bananas are like sponges for freezer odors. I made the mistake once of storing them near leftover garlic bread, and let's just say it was not a pleasant surprise.
Layer with parchment paper. If you're stacking them in containers, separate the layers. They'll stick together otherwise, and you'll end up with a frozen banana puzzle.
Label and date everything. These are best within two weeks, though they're safe for up to a month. After that, the texture starts to suffer, even if they're still technically fine to eat.
Making It a Family Activity
Some of my favorite weekend moments happen when the kids help me make these. There's something about the simplicity that makes it accessible for little hands, and the anticipation of waiting for them to freeze builds excitement.
Jake, who's usually bouncing off the walls, actually slows down during the assembly process. Emma likes to create patterns with her toppings—she's currently into alternating chocolate chips and coconut flakes. It's become our thing, and honestly, it's better than any store-bought bonding activity.
Pro tip: Let kids choose their own toppings and make their own combinations. You'll be surprised by what they come up with, and they're more likely to eat something they helped create.
When to Serve These (Hint: Almost Anytime)
These aren't just afternoon snacks. I've served them at playdates, packed them in lunch boxes with ice packs, and even put them out during dinner parties as a healthier dessert option. They're particularly great for those moments when you need something sweet but don't want the sugar crash that comes with traditional treats.
For busy mornings, I sometimes pull a couple from the freezer and add them to smoothie bowls. They add that creamy, sweet element without the need for additional sweeteners.
The Nutritional Reality Check
Let's be honest about what we're dealing with here. Each bite contains approximately 32 calories, 1 gram of protein, and 2 grams of natural sugar. Compare that to a typical granola bar (150+ calories with added sugars) or fruit snacks (pure sugar with artificial flavors), and you can see why I feel good about offering these to my kids.
The potassium from bananas supports muscle function—great for active kids. The healthy fats from peanut butter help with satiety and brain development. The protein from Greek yogurt supports growth and keeps energy levels stable. It's not magic, but it's significantly better than most packaged snacks.
Troubleshooting Common Issues
After fielding questions from friends who've tried this recipe, here are the most common problems and their solutions:
"They taste weird after a few days." This usually means freezer burn or odor absorption. Make sure you're using airtight containers and consuming within two weeks.
"They're too hard straight from the freezer." Let them sit at room temperature for 2-3 minutes before eating. They should soften slightly but not become mushy.
"My kids won't eat them." Try involving them in the making process, and don't be afraid to experiment with different toppings until you find their preference.
Frozen Banana Peanut Butter Bites: The Best 2025 No-Bake Dessert
Course: dessertCuisine: AmericanDifficulty: Easy4
servings14
minutes3
hours32
kcalSlice bananas into half-inch rounds and place one on top of the peanut butter layer in each muffin cup.
Ingredients
2 medium bananas (ripe but still firm—think yellow with just a few brown spots)
⅓ cup natural peanut butter (I swear by the kind with just peanuts and salt)
⅓ cup plain Greek yogurt (optional, but I always include it for the protein boost)
Mini muffin tin or silicone molds
Directions
- Set up your assembly line. This is crucial when kids are helping. Line your mini muffin tin with paper liners or use silicone molds (my preference—they pop out so cleanly). Have all your ingredients ready to go.
- Create the peanut butter base. Spoon about a teaspoon of peanut butter into each cup. Don't worry about perfect measurements—I've found that eyeballing works just fine. Spread it out to create a foundation.
- Add your banana layer. Slice bananas into thick rounds, about ½ inch. Here's where my pastry training comes in handy: consistent thickness means even freezing. Place one slice over the peanut butter in each cup.
- Top with yogurt. Add a dollop of Greek yogurt and spread it evenly over the banana. This layer does more than add flavor—it acts as a protective barrier against freezer burn.
- Customize (this is where kids get creative). Mini chocolate chips, shredded coconut, crushed nuts, granola—whatever makes your family happy. Emma always goes for chocolate chips, while Jake prefers his plain.
- The waiting game. Freeze for at least 2-3 hours until completely solid. Pro tip from my pastry days: resist the urge to check them too early. Good things take time.
Notes
- Banana ripeness matters: Look for yellow bananas with just a few brown spots. Too green and they won't be sweet enough; too brown and they'll get mushy when frozen.
- Peanut butter consistency: Natural peanut butter works best, but if it's too thick, warm it slightly in the microwave for easier spreading.
- Make-ahead tip: These freeze beautifully, so double the batch when you're making them. Your future self will thank you.
- Serving temperature: Let them sit at room temperature for 2-3 minutes before eating for the perfect texture—not too hard, not too soft.
Why This Recipe Matters (Beyond the Snack)
Here's what I've realized after months of making these: it's not just about having a healthy snack option. It's about showing kids that good food doesn't have to be complicated or expensive. It's about creating those small moments of anticipation and satisfaction that make childhood special.
When Emma opens the freezer and chooses one of these over a store-bought ice cream bar, I know we've achieved something. When Jake asks if we can make them together on Sunday afternoon, I know we've created more than just a snack—we've created a tradition.
In my experience as both a former pastry chef and a mom, the best recipes aren't always the most complex ones. Sometimes they're the ones that bring people together, that make you feel good about what you're putting in your body, and that create memories along the way.
Your Turn to Create Magic
I'd love to know how this recipe works for your family. Do your kids prefer chocolate chips or coconut? Have you tried any creative variations? Share your photos and stories on social media—there's something so satisfying about seeing how different families make this recipe their own.
And if you're on the fence about trying this, remember: you probably have everything you need in your kitchen right now. The worst thing that happens is you spend fifteen minutes making something your family might love. The best thing? You discover your new go-to healthy snack that actually tastes like a treat.
Don’t miss our other easy no-bake recipes, like vegan avocado chocolate mousse and oreo no-bake dessert—your fridge will thank you.
For more recipes follow us on Facebook and Pinterest.