No Bake Bars and Squares: The Complete Guide to Easy, Delicious Treats
After testing no bake recipes for over a decade, I can tell you exactly why these treats have earned their place in my kitchen rotation. no bake bars and squares offer the perfect solution when you want homemade desserts without turning on the oven—and once you understand the science behind them, you’ll never look at these simple treats the same way again.
What Are No Bake Bars and Squares?
no bake bars and squares are desserts that achieve their structure through refrigeration or setting at room temperature rather than baking. These treats rely on specific ingredient combinations and ratios to create everything from fudgy chocolate squares to crispy cereal bars. The beauty lies in their simplicity: most recipes require just a handful of ingredients, minimal equipment, and about 15 minutes of active time.
Here’s the science behind it: no bake bars typically use one of three binding mechanisms. Fat-based binders like chocolate, peanut butter, or coconut oil solidify when cooled. Sugar-based syrups create structure through crystallization or by binding dry ingredients together. Sticky ingredients like marshmallows, sweetened condensed milk, or honey act as adhesive matrices that hold everything together.
Why Choose No Bake Bars and Squares?
In my testing, I’ve found that no bake bars offer distinct advantages over traditional baked goods. They’re faster—most come together in under 30 minutes of hands-on time. They’re more forgiving—slight variations in measurements rarely result in complete failure. They’re energy-efficient, requiring no preheating or prolonged oven use. And they’re perfect for summer when heating up your kitchen feels unbearable.
I’ll be honest—I used to dismiss no bake recipes as “less than” real baking until I had one too many kitchen failures during busy weeknights. Now these bars are my secret weapon when Emma and Jake request treats but I’m short on time. After making no bake cookies that never set during my son’s birthday party (more on that later), I learned that understanding the science prevents disasters.
Essential Ingredients for No Bake Bars and Squares
Binding Agents
The binding agent is what holds your bars together. Chocolate is my go-to—I source mine from a local Portland chocolatier, and the quality makes a noticeable difference. When melted, chocolate contains cocoa butter that solidifies upon cooling, creating a firm structure. Pro tip from my pastry days: temperature matters more than you think. Chocolate should be melted gently to prevent seizing.
Nut butters work similarly, containing natural oils that firm up when chilled. Peanut butter, almond butter, and cashew butter all work beautifully. I’ve found that natural nut butters (the kind where oil separates on top) create slightly softer bars, while processed versions with added stabilizers hold together more firmly.
Marshmallows are another excellent binder. When heated, they become sticky and pliable, coating other ingredients and then setting into a chewy structure as they cool. This is the principle behind classic Rice Krispies treats—and understanding it helps you troubleshoot when things go wrong.
Sweeteners and Syrups
Corn syrup, honey, maple syrup, and sweetened condensed milk all serve dual purposes in no bake bars. They add sweetness while also providing adhesive properties. Here’s the science behind it: these thick, viscous liquids coat dry ingredients and help bind everything together. The higher the sugar concentration, the firmer the final texture.
Since my husband is diabetic, I’ve tested numerous sugar alternatives. Sugar-free syrups work but often require adjusting ratios. I’ve found that combining a sugar alcohol like erythritol with a small amount of honey provides better texture than using sugar substitutes alone.
Base and Mix-in Ingredients
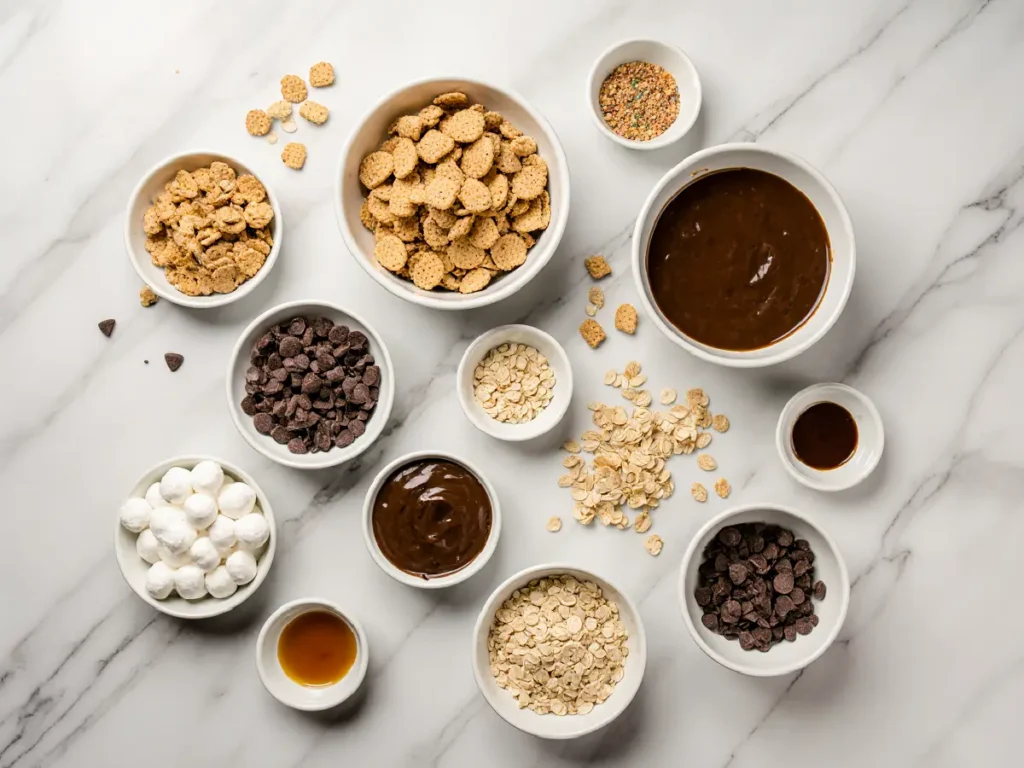
Graham crackers, cookies, oats, cereal, and nuts form the structural foundation of most bars. The key is particle size—finely crushed bases create denser bars, while coarser pieces yield more textured results. I keep three different-sized mixing bowls specifically for this work, and I’m not ashamed to admit it.
For mix-ins, chocolate chips, dried fruit, coconut, and seeds add flavor and textural variety. In my testing, I’ve learned that certain mix-ins work better than others depending on your base. Dried fruit pairs beautifully with oat-based bars but can make chocolate-heavy squares too sweet.
[IMAGE PLACEMENT #2: Overhead flat-lay photo showing organized ingredients – bowls of crushed graham crackers, chocolate chips, nuts, various binders like peanut butter and melted chocolate, and different mix-ins arranged on a marble surface]
Core Techniques and Methods
The Melt-and-Mix Method
This is the most common technique for no bake bars. You melt your binding agent (chocolate, butter, or marshmallows), combine it with sweeteners if needed, then mix in your dry ingredients. The ratio is critical here. After testing this recipe seventeen times (yes, I counted), I can tell you exactly where things go wrong: too much binder and your bars never firm up, too little and they crumble when you try to cut them.
The standard ratio I use is 2 parts dry ingredients to 1 part binder by volume. This can be adjusted based on the moisture content of your specific ingredients, but it’s a reliable starting point.
The Press-and-Chill Method
For firmer bars like granola squares or protein bars, the press-and-chill method works best. After mixing your ingredients, you press the mixture firmly into a lined pan. The amount of pressure matters—I use the bottom of a measuring cup to really compact everything. This creates better adhesion between ingredients and results in bars that slice cleanly.
Temperature control is crucial. If your mixture is too hot when you press it, ingredients may separate. Too cold, and it won’t bind properly. I aim for warm to the touch but not steaming—around 100-110°F if you want to be precise.
The Layer-and-Set Method
Layered bars require patience but produce impressive results. You create distinct layers—perhaps a cookie base, a caramel center, and a chocolate top—allowing each to set before adding the next. The key is ensuring each layer is properly chilled before adding the next, otherwise they’ll blend together.
Common Problems and Troubleshooting
Bars Won’t Set or Stay Too Soft
This is the number one issue I hear about. Emma calls these “science cookies” because I always explain what’s happening as we make them, and I’ve learned that several factors affect setting. Insufficient chilling time is the most common culprit—most bars need at least 2-3 hours in the refrigerator, some even overnight. Incorrect ratios of binding agents to dry ingredients will also prevent proper setting. If you’ve added too much liquid sweetener or your kitchen is very warm, your bars may remain perpetually soft.
The fix: If your bars won’t set, return them to the refrigerator and add 30-60 minutes more chilling time. If they’re still soft after 4-5 hours, you likely have a ratio problem. You can sometimes salvage soft bars by melting them down, adding more dry ingredients or binding agent as needed, then rechilling.
Bars Are Too Crumbly or Fall Apart
The opposite problem indicates too little binder or not enough compression during pressing. Another culprit: cutting bars before they’re fully set. I’ve learned this the hard way multiple times—patience really is a virtue here.
The fix: Always chill bars completely before cutting. Use a sharp knife wiped clean between cuts. If your bars are consistently crumbly, increase your binder by 10-20% in the next batch.
Chocolate Seizes or Becomes Grainy
This happens when chocolate comes into contact with even small amounts of water during melting, causing it to clump and become grainy. It can also occur from overheating. Pro tip from my pastry days: melt chocolate gently using 15-20 second intervals in the microwave, stirring between each interval. Alternatively, use a double boiler and keep the temperature below 115°F.
Uneven Texture or Distribution
If your mix-ins aren’t evenly distributed or your bars have dense spots and airy spots, you didn’t mix thoroughly enough or pressed unevenly. I’ve found that using a spatula to fold ingredients together, then using the bottom of a flat-bottomed glass or measuring cup to press evenly into corners makes a huge difference.
🔍 What Went Wrong? Diagnostic Quiz
Answer these questions to discover what happened to your no-bake bars and how to fix them
💡 How to Fix It:
Popular Types of No Bake Bars and Squares
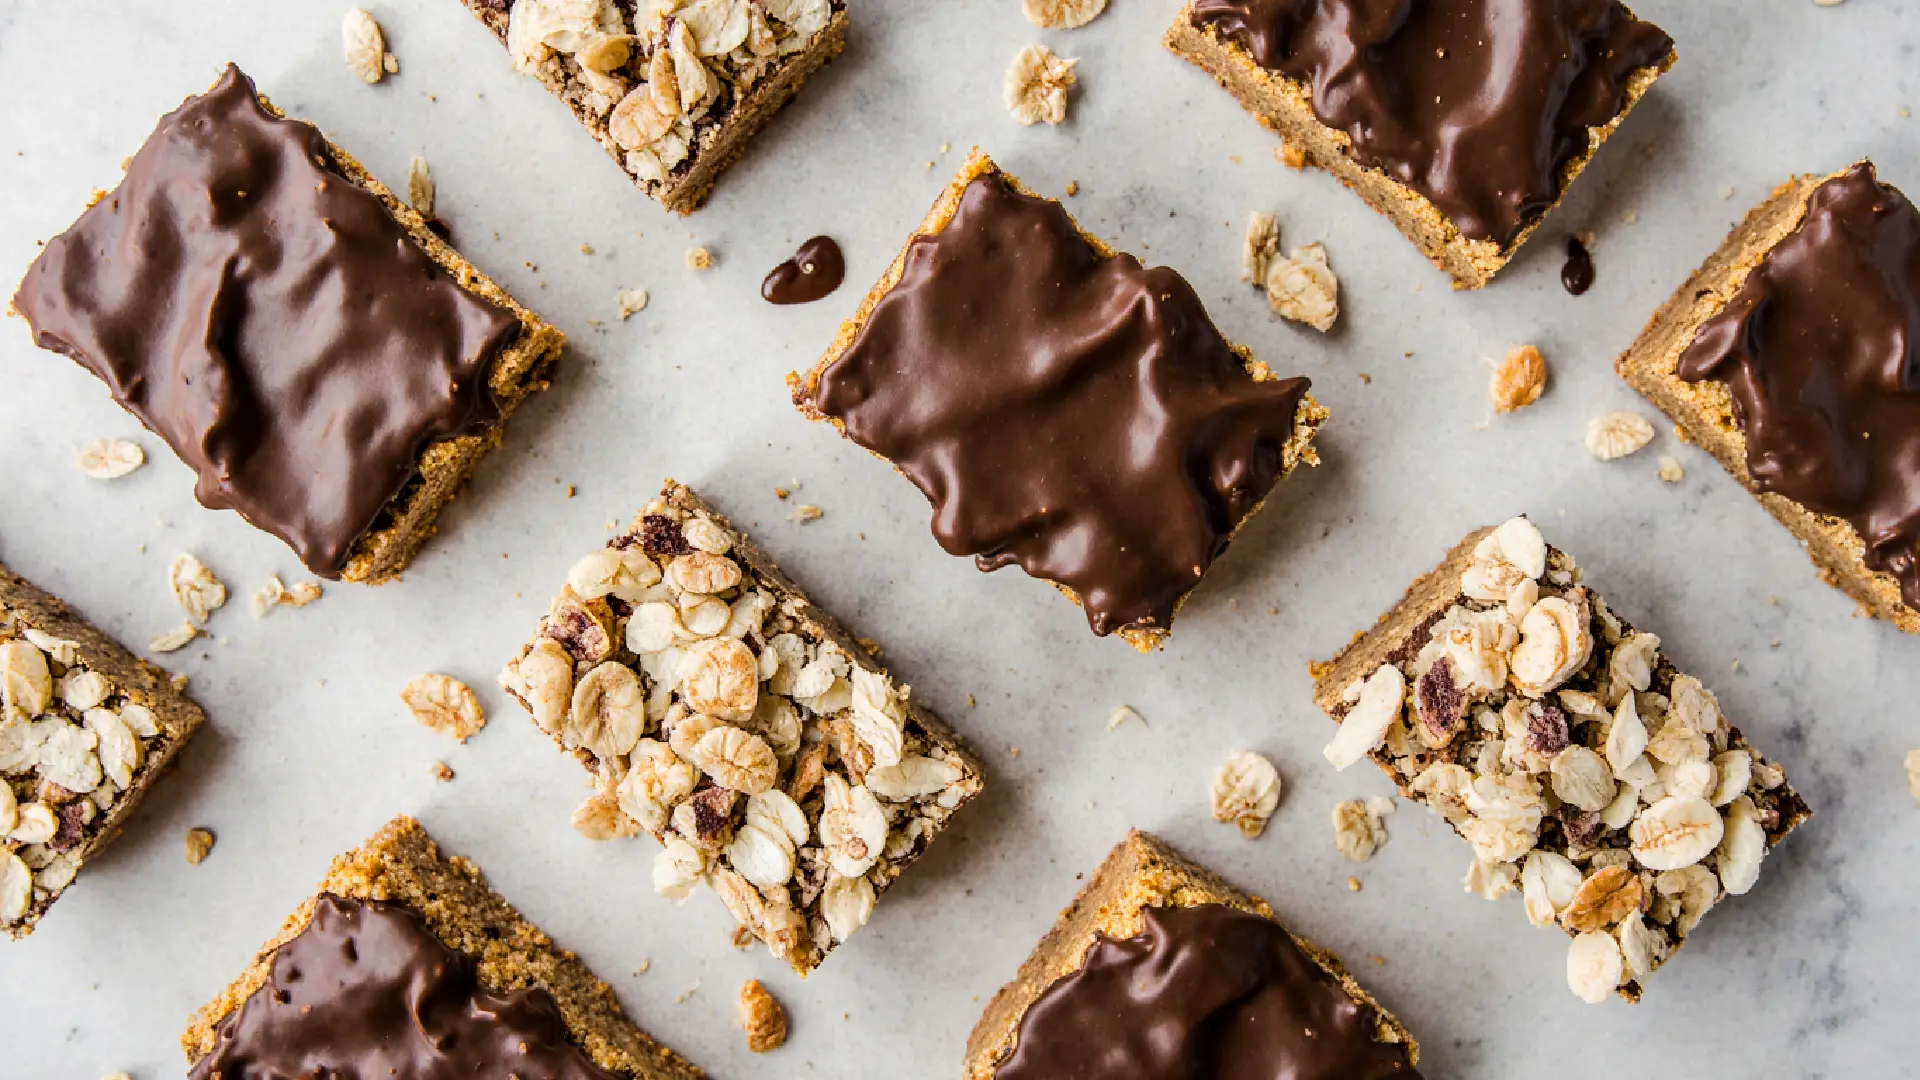
Chocolate-Based Bars
These are crowd favorites for good reason. Classic no bake chocolate oat bars, chocolate peanut butter bars, and fudgy brownies all rely on chocolate as the primary binder. The cocoa butter in chocolate provides excellent structure when chilled. I swear by my digital scale for these recipes—measuring chocolate by weight rather than volume ensures consistency.
Key considerations: Use good quality chocolate. Those chocolate chips from the discount store might save money, but they often contain stabilizers that affect melting properties. Real chocolate with simple ingredients (cocoa mass, sugar, cocoa butter) performs better.
Nut Butter Bars
Peanut butter bars, almond butter energy squares, and sunflower seed butter bars (for nut-free needs) offer protein-rich options. These bars typically combine nut butter with a sweetener like honey or maple syrup, then incorporate oats, crispy rice cereal, or crushed crackers.
The texture depends on nut butter type. Natural nut butters create softer, more tender bars. Processed versions with added oils and stabilizers create firmer textures. Neither is wrong—it’s about preference. In my testing, I’ve found that adding a tablespoon of coconut oil to natural nut butter bars helps them firm up better.
Cereal and Rice Crispy Treats
The classic marshmallow-cereal combination is endlessly adaptable. Rice Krispies treats are just the beginning. You can use any puffed or crispy cereal, add mix-ins like chocolate chips or dried fruit, or even create layered versions with different cereals.
Here’s the science behind it: when you melt marshmallows with butter, you create a sticky syrup. The ratio of marshmallows to cereal determines texture—more marshmallows make chewier treats, less makes crispier ones. The standard ratio is 3 cups mini marshmallows to 6 cups cereal.
Coconut and Date-Based Bars
For those seeking naturally sweetened options, dates and coconut create wonderful bars. Dates act as both sweetener and binder when processed into a paste. Their natural sugars and sticky texture hold ingredients together beautifully. Coconut—whether shredded, as flour, or in oil form—adds richness and helps with binding.
These bars often don’t require refrigeration to set, making them ideal for lunch boxes and travel. The natural fiber in dates means they’re more filling than sugar-based alternatives.
Graham Cracker and Cookie Bars
Using crushed graham crackers or cookies as a base opens endless possibilities. The classic “magic bars” with graham cracker base, sweetened condensed milk, chocolate chips, and coconut exemplify this category. These bars typically use sweetened condensed milk as the primary binder—its thick, syrupy consistency and high sugar content ensure everything sticks together.
After testing various cookie bases, I’ve found that graham crackers provide the most neutral flavor that pairs well with any topping. Vanilla wafers add subtle sweetness, while chocolate cookies make intensely rich bars.
[IMAGE PLACEMENT #3: Step-by-step process photos showing the press-and-chill method – mixing ingredients in a bowl, pressing mixture into a lined pan with a measuring cup, removing set bars from pan, and cleanly sliced finished bars on a cutting board]
Customization and Variations
Dietary Modifications
Making no bake bars work for various dietary needs is surprisingly straightforward once you understand substitution principles. For gluten-free bars, use certified gluten-free oats, rice cereal, or almond flour bases. Most binding agents are naturally gluten-free, so you’re already halfway there.
For dairy-free versions, substitute coconut oil for butter and use dairy-free chocolate. I’ve found that refined coconut oil (which doesn’t taste like coconut) works better than virgin coconut oil in chocolate-based recipes where you want pure chocolate flavor.
For vegan bars, replace honey with maple syrup or agave nectar, use vegan chocolate, and swap regular marshmallows for vegan marshmallows (made with plant-based gelatin alternatives). The ratios stay the same.
For lower sugar options—this is where my husband’s diabetes has pushed me to experiment extensively—use sugar alcohols like erythritol in combination with small amounts of natural sweeteners. I’ve found that using 75% erythritol and 25% honey or maple syrup provides better texture than 100% sugar substitutes while significantly reducing sugar content.
Flavor Combinations
Understanding complementary flavors helps you create your own recipes. Chocolate pairs beautifully with mint, orange, raspberry, peanut butter, caramel, and coffee. Peanut butter loves chocolate, banana, honey, and coconut. Coconut works with lime, lemon, mango, and chocolate.
Don’t be afraid to experiment with spices. Cinnamon, cardamom, and vanilla enhance nearly everything. In winter, I gravitate toward warm spices—think cinnamon, ginger, and nutmeg in oat-based bars. Summer calls for lighter flavors—lemon zest, coconut, and mint.
Texture Modifications
You can adjust texture by varying your ratios and ingredients. For chewier bars, increase sticky binders like marshmallow or honey. For crunchier bars, add more crispy cereal, chopped nuts, or seeds and use less binder. For fudgier textures, increase chocolate or nut butter and decrease dry ingredients.
The mix-in possibilities are limitless: chopped dried fruit, mini chocolate chips, crushed pretzels for sweet-and-salty contrast, toasted coconut, chia seeds for nutrition, crushed freeze-dried fruit for intense flavor without moisture, or even a swirl of jam between layers.
Equipment and Tools
Essential Equipment
You don’t need specialized equipment for no bake bars. An 8×8 or 9×13 inch baking pan (depending on batch size) is essential. I line mine with parchment paper, leaving overhang on two sides—this creates handles that make removing bars effortless.
Mixing bowls in various sizes matter more than you’d think—I own three specifically for this purpose. A medium saucepan for melting ingredients, a sturdy spatula for mixing and spreading, and a sharp knife for clean cutting are all you need. My digital scale gets used for every chocolate-based recipe because precision prevents many common problems.
Optional but helpful: a food processor for crushing cookies or graham crackers (though a rolling pin and zip-top bag work fine), an offset spatula for smooth tops, and a bench scraper for perfectly clean cuts.
Storage Containers
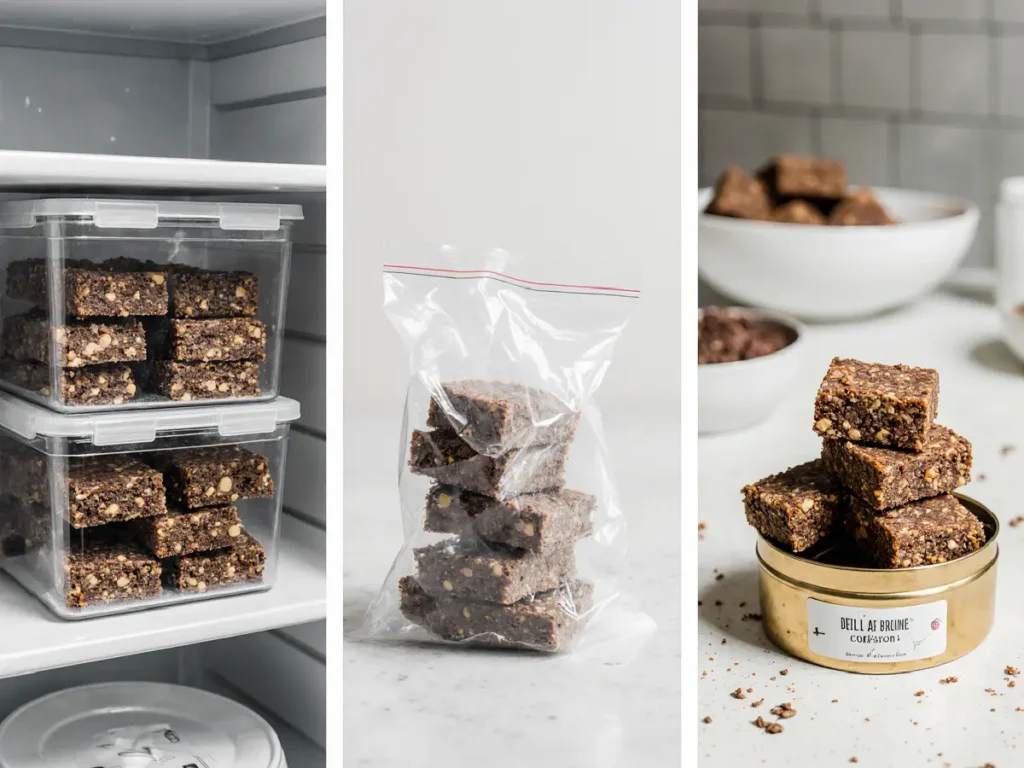
Proper storage prevents your bars from drying out or absorbing refrigerator odors. Airtight containers are essential. I use glass containers with snap-lock lids—they don’t retain odors and make it easy to see what’s inside. For layered bars, place parchment paper between layers to prevent sticking.
Storage and Shelf Life
Refrigerator Storage
Most no bake bars store best in the refrigerator, where they’ll keep for 1-2 weeks in an airtight container. Chocolate-based bars especially need refrigeration to maintain their structure. Before serving, I often let bars sit at room temperature for 5-10 minutes—they taste better when not ice-cold, and the texture improves slightly.
Freezer Storage
Nearly all no bake bars freeze beautifully for up to 3 months. This is a game-changer for meal prep. I cut bars into individual portions, wrap each in plastic wrap, then store in a freezer-safe container or bag. For lunch boxes, I grab frozen bars in the morning—they thaw perfectly by lunchtime and help keep other foods cool.
Room Temperature Storage
Some bars can be stored at room temperature if they don’t contain ingredients that require refrigeration. Date-based bars, certain granola bars, and some cereal treats fall into this category. These typically stay fresh for 3-5 days in an airtight container at room temperature. In my testing, I’ve found that warmer kitchens (above 75°F) can cause some bars to soften, so refrigeration is often safer.
Making No Bake Bars with Kids
no bake bars are ideal for cooking with children because there’s no hot oven and fewer opportunities for burns. Emma and Jake have been making these with me since they were quite young—the mixing and pressing parts are perfect for small hands.
Safety considerations: Adults should handle all stovetop melting. Kids can help measure, mix, press, and add mix-ins. For very young children, pre-melt your binding agents and let them focus on the mixing and pressing steps. This gives them the satisfaction of “making” something while you handle the trickier parts.
The educational value goes beyond just cooking skills. We talk about how ingredients change texture with temperature, why ratios matter, and what happens chemically when chocolate sets or marshmallows cool. These are real science lessons disguised as dessert.
Scaling Recipes
Understanding how to scale no bake bar recipes opens up possibilities for meal prep, parties, or smaller households. The math is straightforward: doubling a recipe that uses an 8×8 pan requires a 9×13 pan (which has roughly double the area). Halving a recipe means using a loaf pan or smaller square pan.
The trick is maintaining proper depth. no bake bars typically should be 3/4 to 1 inch thick. Too thin and they’re hard to handle and may dry out. Too thick and the center may not set properly. When I’m making bars for a crowd, I make multiple 9×13 pans rather than trying to use extra-large pans.
Advanced Tips from a Pastry Chef
After twelve years of testing, here are the insights that make the biggest difference. Toast your nuts and coconut before adding them—the flavor improvement is dramatic. Let your melted chocolate or nut butter mixture cool slightly before mixing with other ingredients—adding it too hot can melt chocolate chips you wanted to stay intact or make oats become mushy.
Use a sharp knife dipped in hot water (and wiped dry) for the cleanest cuts—this works especially well for chocolate-topped bars. For perfectly square bars every time, measure and mark your cuts with a ruler before slicing. Create a parchment paper sling by lining your pan with overhang on opposite sides—this makes removing the entire slab foolproof.
Consider texture contrast intentionally. Smooth chocolate on top of crunchy oats, chewy dried fruit in crispy rice cereal—these contrasts make bars more interesting to eat. Don’t overmix—once ingredients are combined, stop. Overmixing can make some bases (especially oat-based ones) become dense and tough.
Seasonal Variations
I make frozen treats in summer and warm spiced no bake bars in winter—it’s become a natural rhythm in my kitchen. Summer calls for lighter flavors and refrigerator bars. Think lemon coconut squares, frozen chocolate peanut butter bars (yes, some bars can be frozen and served frozen), and no bake cheesecake bars with fresh berries.
Fall invites warm spices like cinnamon, nutmeg, and ginger. Pumpkin spice energy bars, apple cinnamon oat squares, and maple pecan bars feel appropriate as temperatures drop. Winter means chocolate-everything—peppermint chocolate bars, hot chocolate-inspired squares, and rich mocha bars. Spring brings fresh, bright flavors—strawberry coconut bars, lemon squares, and anything with fresh fruit.
Related Topics to Explore
To deepen your no bake dessert skills, consider exploring no bake cookie techniques (which use similar binding principles but different shaping methods), energy ball recipes (which apply the same science in bite-sized form), and refrigerator cake methods (for even more complex layered desserts). Understanding candy making temperatures helps with certain bar recipes, homemade granola bar formulations teach you about binding mechanisms, and raw dessert techniques expand your no bake repertoire considerably.
❓ Frequently Asked Questions
Get quick answers to common no-bake bar questions
Conclusion
no bake bars and squares have earned their place in my kitchen not because they’re shortcuts, but because they’re smart solutions. They deliver homemade flavor without the time commitment of traditional baking, they’re forgiving enough for beginners yet versatile enough to keep experienced cooks engaged, and they open up possibilities for people who don’t have access to ovens or want to cook in hot weather.
I’ll be honest—I used to eyeball measurements until I had one too many kitchen failures. Now I understand the science, respect the ratios, and create consistent results. Whether you’re making bars for school lunch boxes, holiday gift plates, or your own midnight snack, the principles remain the same: good ingredients, proper ratios, adequate chilling time, and patience.
Start with a basic recipe to understand the fundamentals, then branch out into variations that match your tastes and dietary needs. Your kitchen will thank you for not heating up, your family will appreciate the homemade treats, and you’ll gain confidence that extends beyond just these recipes. After all, understanding why something works is far more valuable than just following directions—and that’s true in cooking and in life.
Ready to start making no bake bars? Begin with a classic chocolate oat bar recipe to master the melt-and-mix method, then explore variations that excite your taste buds. Remember: the science is your friend, ratios matter, and even mistakes teach valuable lessons. Now get in there and make something delicious.
For more recipes follow us on Facebook and Pinterest.
Did you try it?
There are no reviews yet. Be the first one to write one.