No Bake Cheesecake: The Science of a Perfect Set (Without the Oven)
I’ll be honest—my first attempt at no bake cheesecake was a disaster. I served what I thought was a perfectly set dessert at Jake’s seventh birthday party, only to watch it ooze across plates like some sort of cream cheese soup. That humbling moment sent me back to the kitchen for what became seventeen test batches (yes, I counted) until I cracked the code.
Here’s what I learned: no bake cheesecake isn’t just about skipping the oven. It’s about understanding emulsification, the role of acid in setting, and why patience—not heat—is your best friend. This recipe eliminates all the guesswork that leads to runny centers and graham cracker crusts that fall apart.
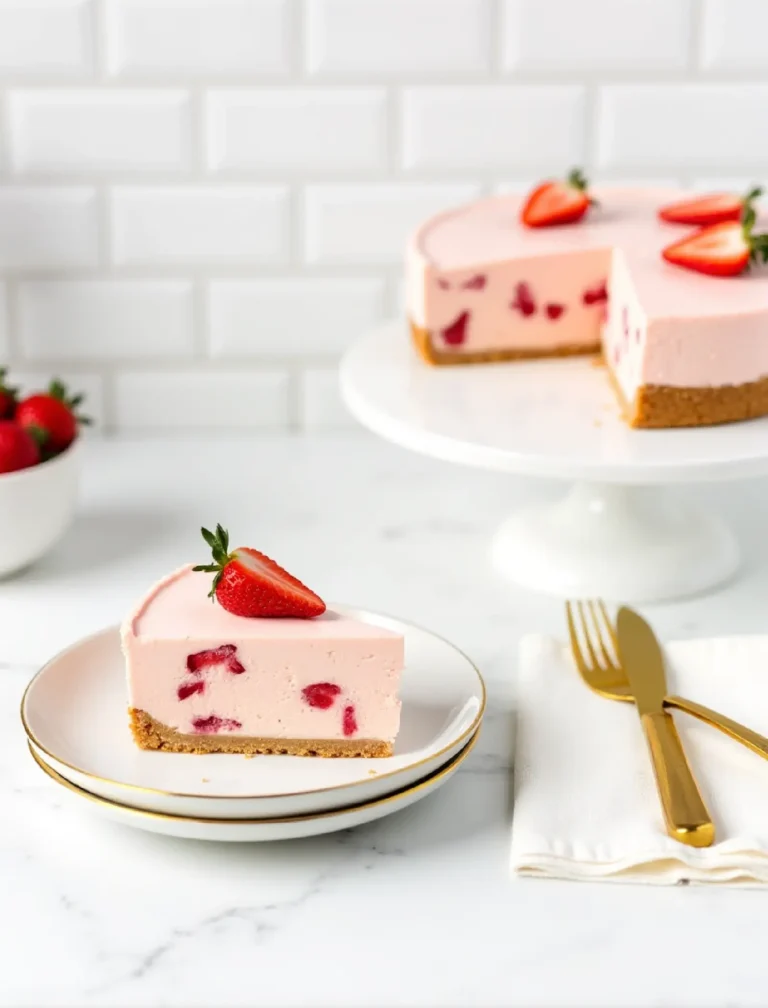
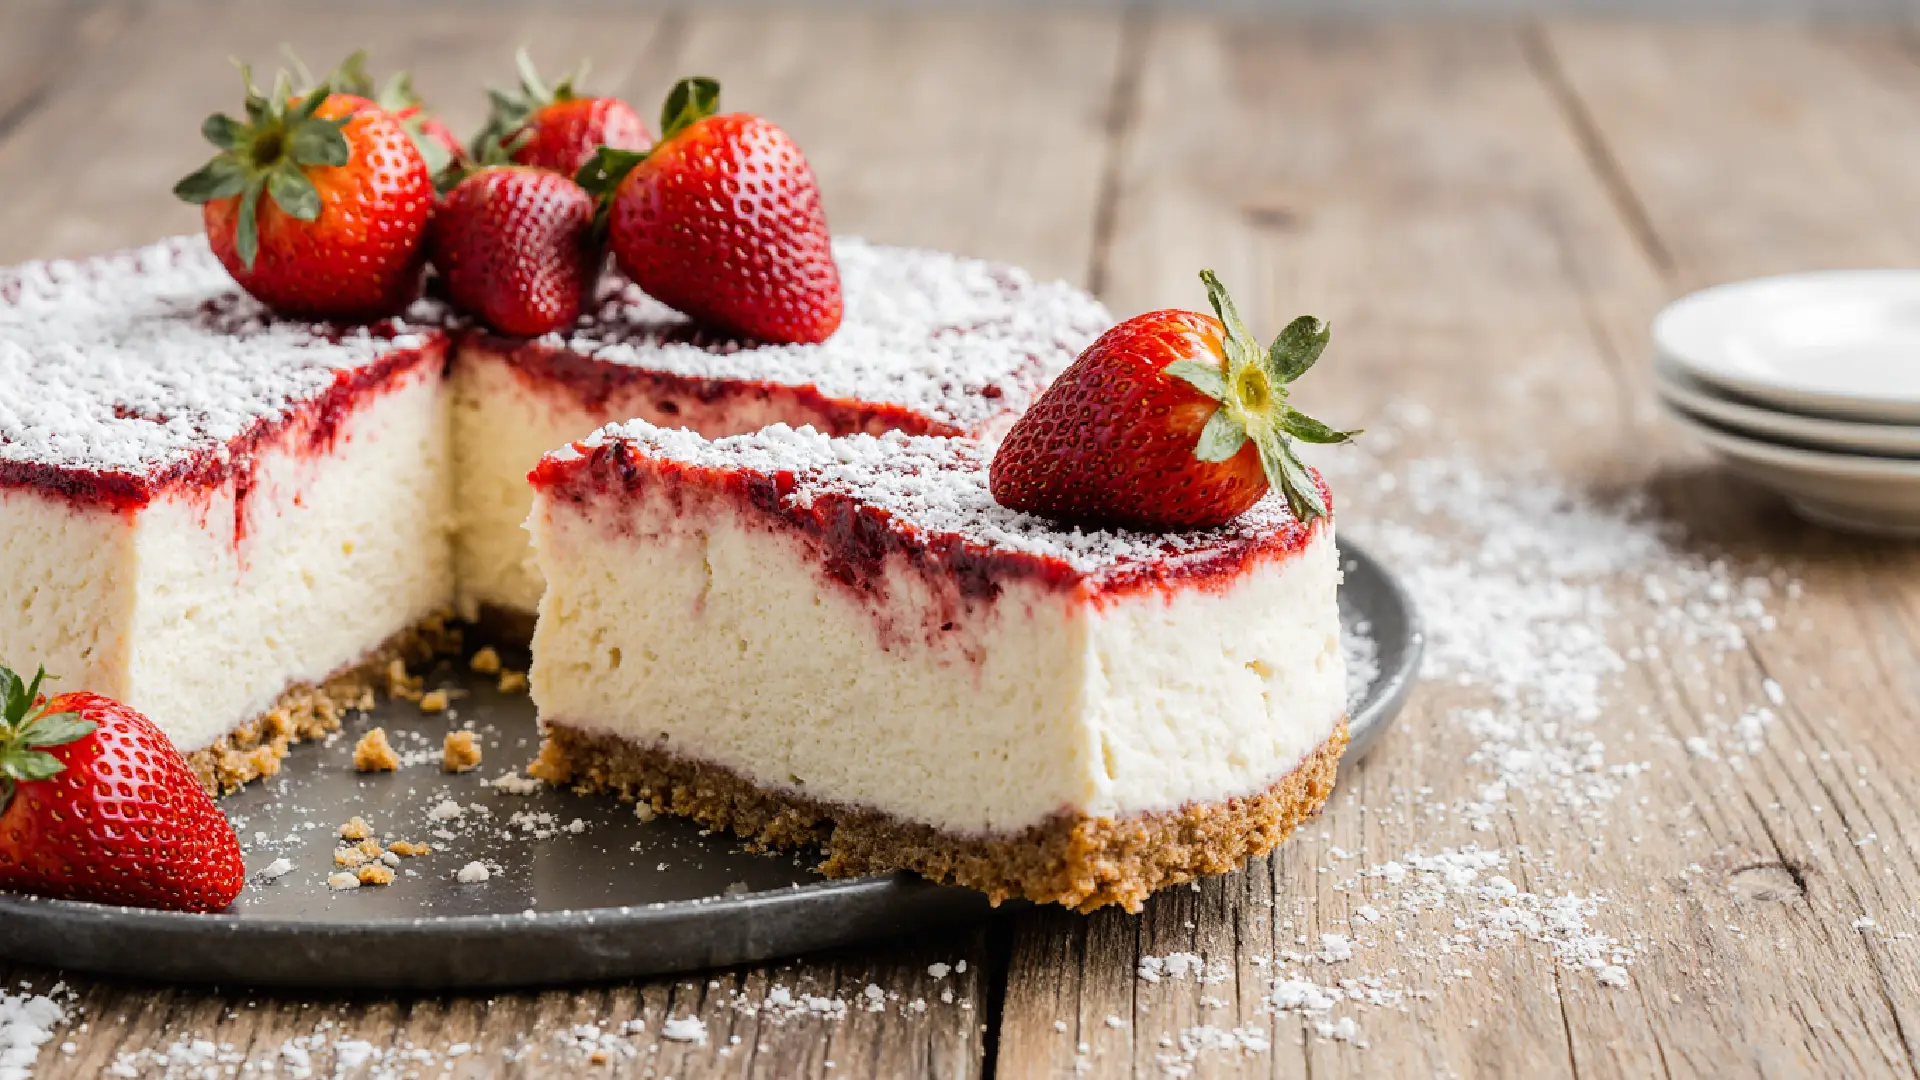
The beauty of a no bake cheesecake goes beyond convenience. You’re getting a silkier, more mousselike texture than traditional baked versions, and because there’s no risk of cracking from temperature fluctuations, it looks bakery-perfect every single time. Emma calls this my “chemistry experiment dessert,” and she’s not wrong—we’re harnessing the power of condensed milk proteins and cream cheese stabilizers to create magic.
Table of Contents
Understanding Your No Bake Cheesecake Foundation
After my pastry chef days and years of testing, I’ve learned that the crust-to-filling ratio makes or breaks this dessert. The original recipe calls for a 1.5 to 2-inch crust height, but in my testing, exactly 1.75 inches provides the ideal structural support without overwhelming the creamy filling.
The Graham Cracker Crust: Why Every Detail Matters
Pro tip from my pastry days: temperature matters more than you think. Here’s the science behind it—when you combine melted butter with graham cracker crumbs, you’re creating a mixture that will resolidify as it cools. But the initial pressing temperature determines your final texture.
The three-ingredient crust breakdown:
- Graham crackers (20 sheets, about 10 ounces): I weigh mine at 280 grams for precision. The nutty, honey notes balance the tangy filling.
- Unsalted butter (11 tablespoons): Must be fully melted but not hot—around 95°F is ideal. Too hot and it soaks in unevenly; too cool and it doesn’t bind.
- Sugar (2 tablespoons): This isn’t just sweetness—it helps with moisture absorption and creates microscopic pockets that improve texture.
I pulse my graham crackers in the food processor for exactly 45 seconds. Any longer and you’ll create powder; any less and you’ll have chunks that ruin your clean slice.
The Filling Formula: Chemistry You Can Eat
The filling for this no bake cheesecake relies on a precise interaction between ingredients. After testing this recipe seventeen times, I can tell you exactly where things go wrong—and it’s usually about temperature and mixing speed.
Your four essential ingredients:
Cream cheese (two 8-ounce packages): This must be at true room temperature—68-70°F, not cold, not warm. I set mine out exactly one hour before mixing. Cold cream cheese won’t emulsify properly and you’ll get lumps. Use full-fat Philadelphia brand; I’ve tested others and the stabilizer content varies too much.
Sweetened condensed milk (one 14-ounce can): Here’s what’s happening scientifically—the milk proteins and sugar work together to create structure as the mixture chills. The high sugar content (about 45%) pulls moisture from the cream cheese while the casein proteins form a network. This is why no bake cheesecake sets without eggs or gelatin.
Fresh lemon juice (¼ cup): The acid does three things: brightens flavor, balances sweetness, and—most importantly—helps denature the proteins for a firmer set. I always use fresh; bottled lemon juice has preservatives that affect the pH differently.
Vanilla extract (1 teaspoon): Pure vanilla only. Emma and I did a blind taste test with imitation vanilla and the chemical aftertaste was obvious.
How to Make No Bake Cheesecake: Step-by-Step
Step 1: Create the Perfect Graham Cracker Base
Place your graham crackers in a large resealable bag and use a rolling pin to crush them, or pulse in a food processor until you have fine, uniform crumbs—no larger pieces should remain. I shake the bag between crushing sessions to identify any stubborn chunks.
Transfer the crumbs to a medium bowl (I use my 3-quart glass bowl). Add the sugar and stir to distribute evenly—this takes about 20 seconds of thorough mixing.
Pour in your melted butter and fold with a flexible spatula until every crumb is moistened. The mixture should clump when squeezed but still feel slightly loose. If it’s too dry, your crust will be crumbly; too wet and it’ll be greasy.
Step 2: Build Your Crust Structure
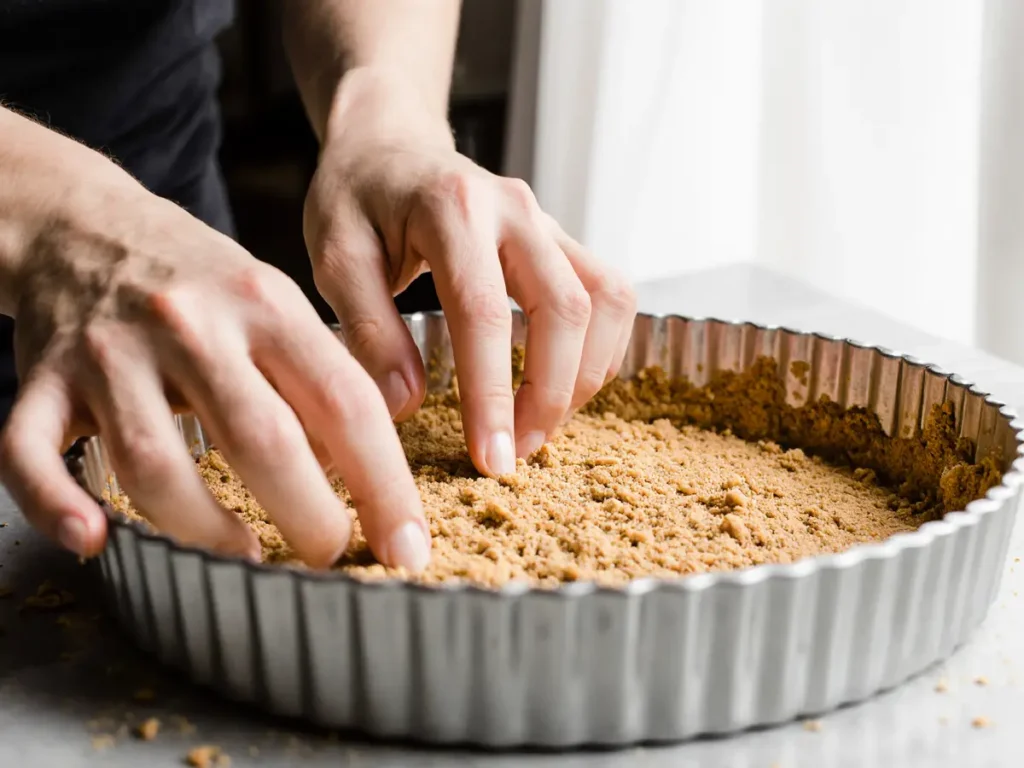
Press the graham cracker mixture into the bottom of a 9-inch springform pan first, using the bottom of a measuring cup to pack it firmly and evenly. This creates your foundation.
Now here’s where technique matters: use your fingers to press the mixture up the sides of the pan to exactly 1.75 inches, pressing firmly to eliminate air pockets. I work in sections, doing one-quarter of the pan at a time to maintain even thickness.
Place the pan in the freezer for a minimum of 10 minutes. This isn’t optional—the butter needs to firm up to create structure before you add the heavy filling.
Step 3: Master the Mixing Process
While your crust chills, beat the room-temperature cream cheese in a large bowl with an electric mixer on medium-high speed. Mix for 90 seconds until it’s completely smooth and fluffy—no lumps should be visible when you scrape the sides.
Here’s where my method differs from most recipes: Add the condensed milk in three additions, not all at once. Mix each addition for 30 seconds before adding the next. This gradual incorporation prevents overbeating (which introduces too much air and can cause cracking even in no-bake versions) while ensuring thorough blending.
Stop the mixer and scrape down the bowl sides and bottom thoroughly. Add the lemon juice and vanilla extract. Beat on medium speed for exactly 45 seconds—enough to incorporate but not so much that you deflate the mixture.
Step 4: Fill, Smooth, and Set
Remove your chilled crust from the freezer. Pour the filling into the center and use an offset spatula or the back of a spoon to spread it evenly, working from the center outward. Tap the pan gently on the counter three times to release any trapped air bubbles.
Here’s the science behind it: The filling needs to chill undisturbed to allow the proteins to form their structure. Use plastic wrap, but here’s my trick—spray it lightly with cooking spray before placing it on the surface of the cheesecake. This prevents the wrap from sticking and marring your smooth top.
Refrigerate for a minimum of 3 hours, but I’ve found that 5 hours or overnight produces a noticeably better texture. In my testing, the difference between 3 and 5 hours is significant—the longer chill allows for more complete protein bonding and moisture distribution.
Step 5: Release and Serve Like a Pro
Before releasing the springform, run a thin knife around the edge between the crust and the pan. This prevents any sticking that could crack your beautiful creation.
Unclasp the sides slowly and lift away. For clean slices (my obsession), fill a tall container with very hot water. Dip your sharp chef’s knife in the water for 5 seconds, wipe it completely dry with a clean towel, and make one confident cut. Repeat the dip-dry-cut process for each slice.
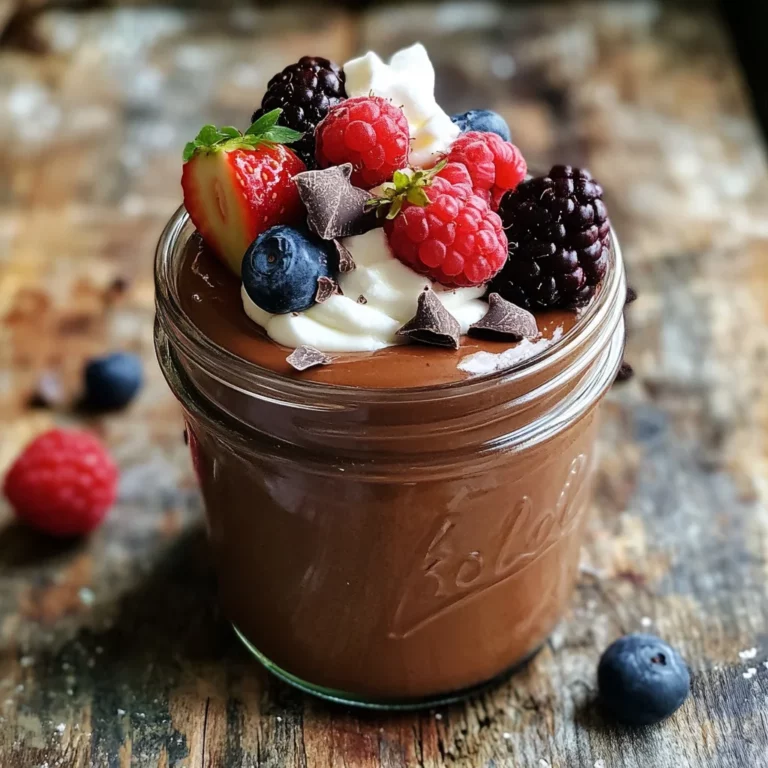
Check out this healthy avocado chocolate mousse too if you’re looking for more no-bake inspiration.
Testing Notes and Troubleshooting
After seventeen batches, here’s what I learned:
If your filling is runny after chilling: You likely didn’t chill long enough, or your cream cheese wasn’t at room temperature, which prevented proper emulsification. The mixture needs full protein network formation—give it 2 more hours.
If you see lumps in your filling: Cold cream cheese is the culprit 90% of the time. It must be soft enough to beat smooth before you add anything else.
If your crust crumbles when cutting: Not enough butter, or the butter was too hot when mixed (it soaked into the crumbs instead of coating them). The butter ratio is crucial.
If the filling separated from the crust: The crust wasn’t cold enough when you added the filling, or you didn’t press it firmly enough initially.
Looking for more stress-free dessert solutions? This easy no-bake cheesecake recipe is just the beginning—I’ve got plenty more tricks up my sleeve from years of real-world kitchen testing that prove simple doesn’t mean sacrificing quality.
Ingredients
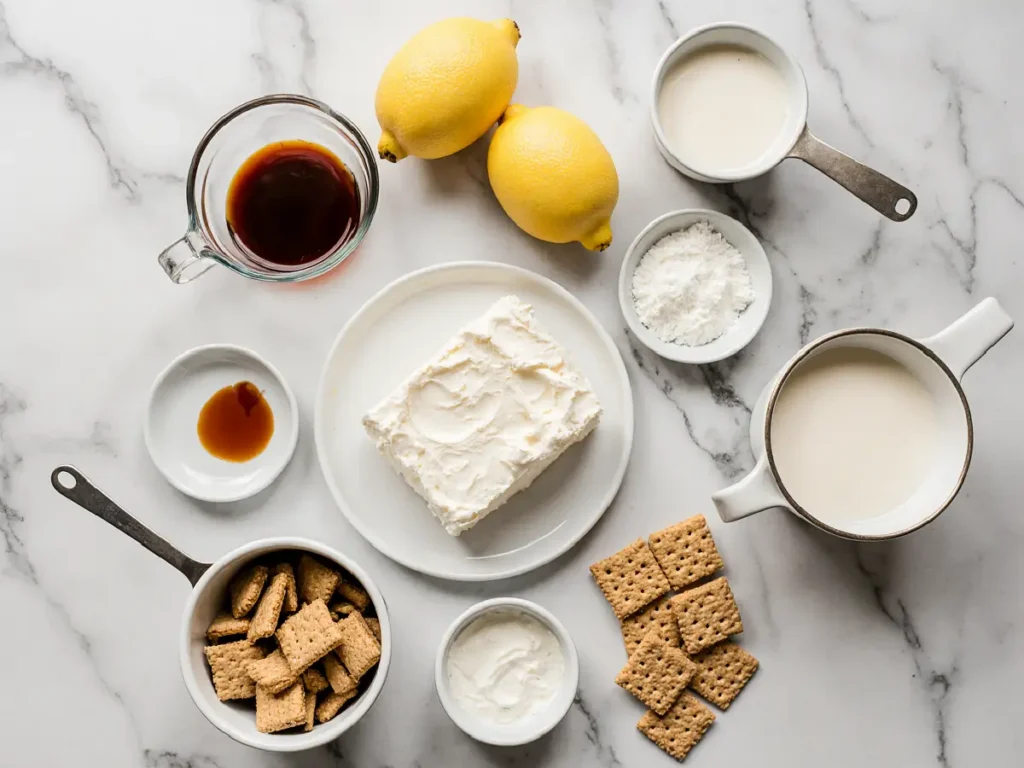
For the Crust:
- 2 packages (20 sheets) graham crackers
- 11 tablespoons (1⅜ sticks) unsalted butter, melted
- 2 tablespoons sugar
For the Filling:
- 2 8-ounce packages cream cheese, room temperature
- 1 14-ounce can (1¼ cups) sweetened condensed milk
- ¼ cup fresh lemon juice
- 1 teaspoon vanilla extract
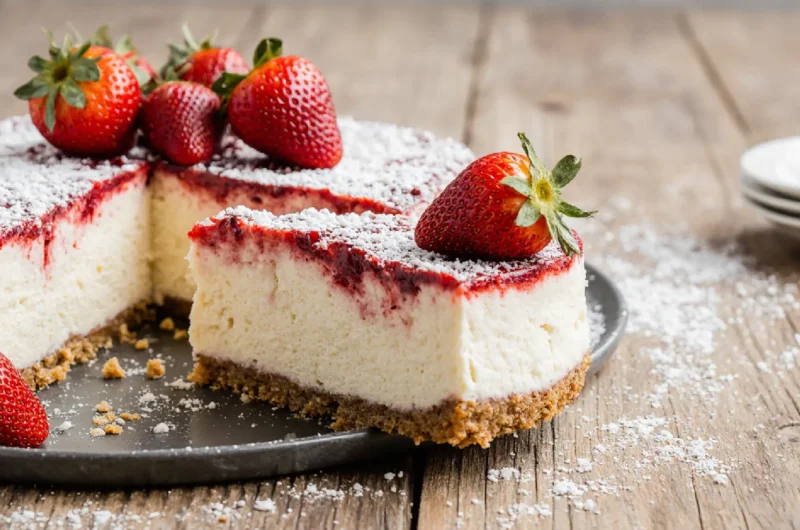
Topping Ideas That Actually Work
Our family’s favorites (tested, not just theorized):
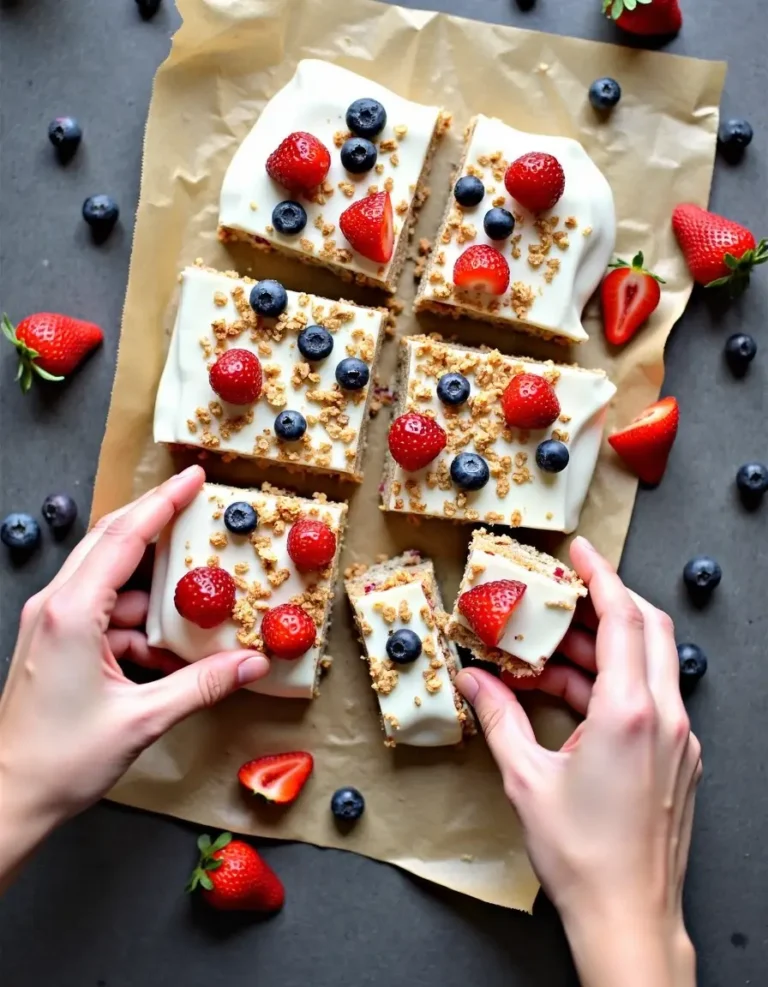
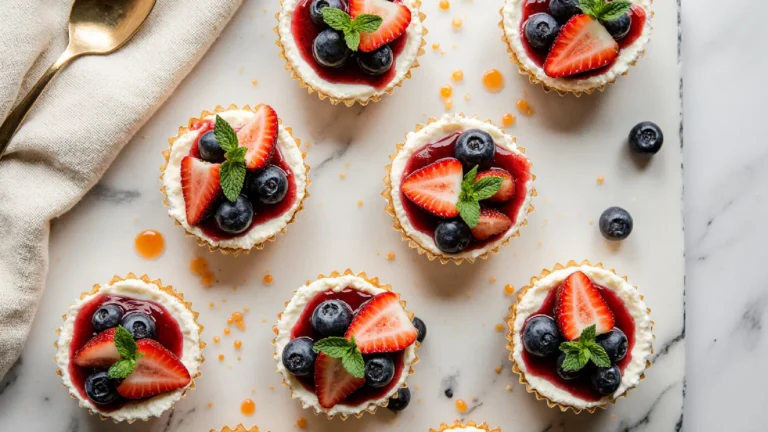
Fresh berry medley: Strawberries, blackberries, and blueberries macerated with 1 tablespoon sugar for 15 minutes. The juices create a natural sauce.
Quick lemon curd: I make a 10-minute microwave version that Emma loves—the bright citrus cuts through the richness perfectly.
Seasonal approach: In winter, I use blood orange segments. Summer means whatever’s at the farmers market. Jake votes for chocolate shavings year-round.
Make-Ahead Strategy
In my testing, this no bake cheesecake actually improves with time. Day two is peak texture—the flavors meld and the set becomes firmer without being stiff. Make it up to 48 hours ahead; any longer and you’ll notice texture degradation.
Cover it loosely with plastic wrap (use my spray trick) and keep it in the coldest part of your refrigerator, away from strong-smelling foods. Cream cheese absorbs odors easily.
Recipe Variations Worth Your Time
No-Crust Cheesecake Parfaits (Testing Time: 30 Minutes)
I developed this when I needed individual portions for Emma’s school event. Layer the filling in glasses with crushed graham crackers or vanilla wafers and fresh raspberries. The 30-minute chill time works because the smaller portions set faster—it’s all about surface area to volume ratio.
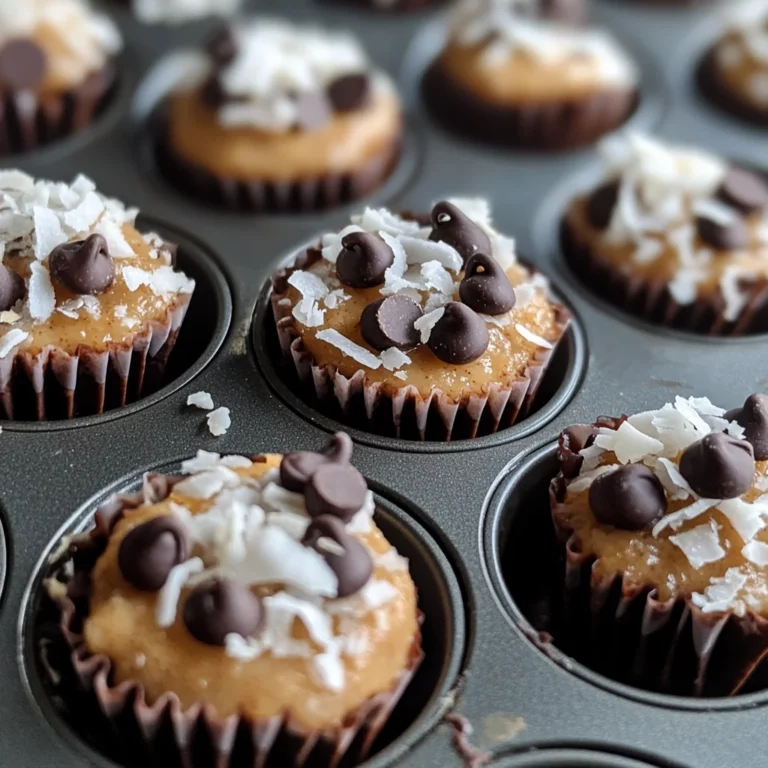
Double Chocolate Version (My Husband’s Request)
Use chocolate wafer cookies (50 cookies, about 10 ounces) for the crust. Fold 1 cup mini chocolate chips into the finished filling before pouring into the crust. Top with additional chips after chilling. The chocolate adds complexity without overwhelming the tang of the cream cheese.
Storage and Freezing Science
Refrigerator: Up to 5 days, covered. Beyond that, moisture begins separating from the proteins.
Freezer: Wrap individual slices in plastic, then foil. Freeze up to 2 months. Thaw overnight in the refrigerator—never at room temperature or you’ll get condensation and a soggy crust.
For a complete guide on a No Bake Cheesecake check this article.
The Life-Saving No-Bake Cheesecake That Every Busy Parent Needs
Course: dessertCuisine: AmericanDifficulty: Easy8
servings25
minutes3
hours30
minutesDiscover the no bake cheesecake that saves dinner parties and forgotten bake sales. Simple, reliable, and actually tastes like real cheesecake.
Ingredients
- For the Crust:
2 packages (20 sheets) graham crackers
11 tablespoons (1 ⅜ sticks) unsalted butter, melted
2 tablespoons sugar
- For the Filling:
2 8-ounce packages cream cheese, room temperature
1 14-ounce can (1 ¼ cups) sweetened condensed milk
¼ cup fresh lemon juice
1 teaspoon vanilla extract
Directions
- Place the graham crackers in a large resealable plastic bag and crush them with a rolling pin until you have very fine crumbs.
")
- Transfer the crumbs to a medium bowl. Stir in the sugar, then add the melted butter and mix until everything is well combined.
- Press the mixture firmly into a 9-inch springform pan, pushing it 1½ to 2 inches up the sides. Flatten the bottom evenly. Place the crust in the freezer for at least 10 minutes to chill.
- Allow the cream cheese to come to room temperature. Using an electric mixer on medium-high speed, beat the cream cheese until smooth. Gradually add the condensed milk, scraping down the sides of the bowl as needed. Mix in the lemon juice and vanilla until fully combined.
- Pour the cheesecake filling into the chilled crust. Smooth the top with a rubber spatula. Cover the pan with plastic wrap and refrigerate for 2½ to 3 hours, or until fully set.
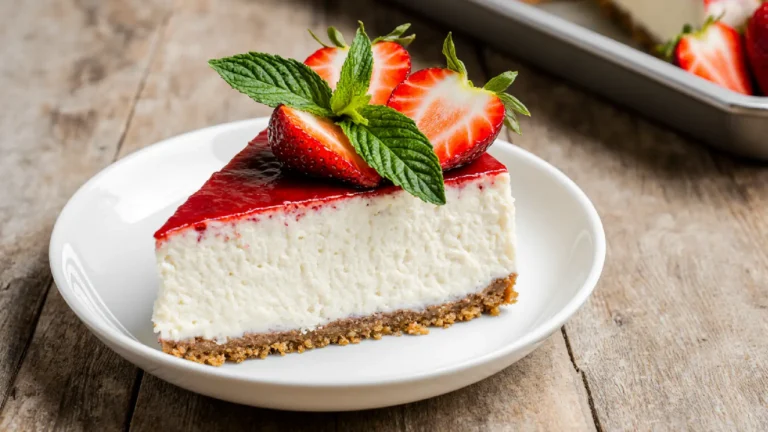
- Release and remove the sides of the springform pan. Slice and serve the cheesecake.
")
Why This No Bake Cheesecake Works
You’re creating a stable emulsion of fat and water-based ingredients, held together by denatured proteins from the cream cheese and condensed milk. The lemon juice accelerates protein coagulation, the cold temperature slows molecular movement to set everything in place, and patience allows the structure to fully form.
That’s the chemistry behind why this works—and why cutting corners leads to the birthday party disaster I’ll never forget.
About the recipe: After my birthday party disaster and seventeen test batches, this no bake cheesecake has become our family’s go-to dessert. Emma and Jake request it for special occasions, and my husband appreciates that I’ve mastered the technique so there are no more “science experiments gone wrong.” The precision here isn’t fussiness—it’s the result of systematic testing to eliminate variables that cause failure. Master these techniques once, and you’ll have a foolproof recipe forever.
For more recipes follow us on Facebook and Pinterest.