No Bake Frozen Desserts: Easy Summer Treats From My Abuela’s Kitchen
Let me tell you something—the irony of me writing about no bake frozen desserts isn’t lost on me. You see, when I was twenty-two and thought I knew everything, I actually burned my first batch of “no-bake” cookies. Yes, you read that right. I put them in the oven because I figured they needed some heat, right? Sofia still brings this up whenever I try to give her cooking advice.
But here’s what I’ve learned in the years since that kitchen disaster: no bake frozen desserts are actually some of the most forgiving, budget-friendly, and delicious treats you can make. And trust me on this one—during those brutal Texas summers when turning on the oven feels like a personal attack, these recipes have saved more family gatherings than I can count.
Table of Contents
Why No Bake Frozen Desserts Changed My Life
My abuela always said, “La cocina no debe ser una prisión”—the kitchen shouldn’t be a prison. She was talking about making cooking joyful instead of stressful, and nowhere does that wisdom apply more than with frozen desserts that require zero baking.
When Sofia was younger and I was juggling work, her school activities, and taking care of my mother, I needed desserts that didn’t demand my constant attention. I needed treats that I could make during commercial breaks, that didn’t heat up my tiny kitchen, and that my family would actually get excited about. That’s when I fell in love with no bake frozen desserts.
These recipes don’t require fancy equipment—I’ve been making most of these with the same mixing bowl and wooden spoons I inherited from my abuela. You don’t need an ice cream maker, a stand mixer, or any of those expensive gadgets that clutter up your kitchen. What you need is a freezer, some basic ingredients, and a little patience.
The Magic Formula: Understanding No Bake Frozen Desserts
Before we dive into recipes, let me share what I wish someone had told me years ago. Every great no bake frozen dessert follows a simple pattern: a base (usually dairy or fruit), a sweetener, and something to give it texture or prevent ice crystals. That’s it. Once you understand this formula, you can create endless variations.
The base gives you creaminess—think sweetened condensed milk, heavy cream, Greek yogurt, or even coconut milk. The sweetener is obvious, but it also affects texture (sugar prevents desserts from freezing rock-hard). The texture component might be crushed cookies, graham crackers, nuts, or even a splash of alcohol (which also keeps things soft).
My neighbor Mrs. Johnson always asks me why her frozen desserts come out icy instead of creamy. The secret? Fat content and sugar balance. That’s why so many of my recipes use sweetened condensed milk—it’s like a magic ingredient that delivers both sweetness and that dreamy, creamy texture.
Essential Ingredients That Won’t Break the Bank
You know I don’t believe in fancy, expensive ingredients that you’ll use once and forget about. Here’s what I always keep stocked for no bake frozen desserts:
Sweetened condensed milk is my absolute hero ingredient. One can costs less than fancy ice cream, and it creates that rich, creamy texture without needing an ice cream maker. I buy them by the case when they’re on sale at my local Mexican market.
Heavy cream whips into clouds of deliciousness and adds richness. I get mine from the regular grocery store—no need for organic ultra-premium cream here.
Cream cheese softened to room temperature creates the most luxurious cheesecake-style frozen desserts. Trust me on this one—don’t skip the softening step or you’ll be fishing lumps out of your mixture.
Graham crackers are my go-to for crusts and mix-ins. A box costs less than two dollars and creates that satisfying crunch that makes frozen desserts feel special.
Vanilla extract enhances everything. My mother taught me to buy the Mexican vanilla from the market—it’s richer and more affordable than the tiny bottles at regular stores.
Fruit gives you natural sweetness and gorgeous color. I use whatever’s in season and on sale, or I grab frozen fruit which is already at perfect ripeness.
My Foolproof No Bake Frozen Dessert Techniques
After eight years of blogging and countless batches of frozen treats, I’ve developed some techniques that make everything easier. These aren’t fancy culinary school methods—they’re the tricks I’ve learned through trial and error in my own kitchen.
The folding technique matters more than you think. When you’re combining whipped cream with other ingredients, use a gentle folding motion instead of stirring. Picture yourself lifting the mixture from the bottom and folding it over the top. This keeps air in the mixture, which means a lighter, creamier final product. Sofia laughed the first time she saw me doing this, saying I looked like I was tucking in a baby, but now she does it the same way.
Layering creates visual drama without any extra work. Instead of mixing everything together, try alternating layers of different components. Not only does it look impressive when you slice into it, but you also get different flavors and textures in each bite.
The parchment paper trick saves so much frustration. Line your pan with parchment paper, leaving some overhang on the sides. When your dessert is frozen, you can lift the whole thing out using the paper as handles. No more trying to scoop frozen dessert out of a stuck pan at midnight when unexpected guests want seconds.
Softening time is crucial and this is something I learned the hard way. Take your frozen desserts out of the freezer five to ten minutes before serving. They’ll be easier to slice and the flavors will actually taste better. Frozen solid, everything tastes muted—slightly softened, the flavors bloom.
Classic No Bake Frozen Desserts With My Twist
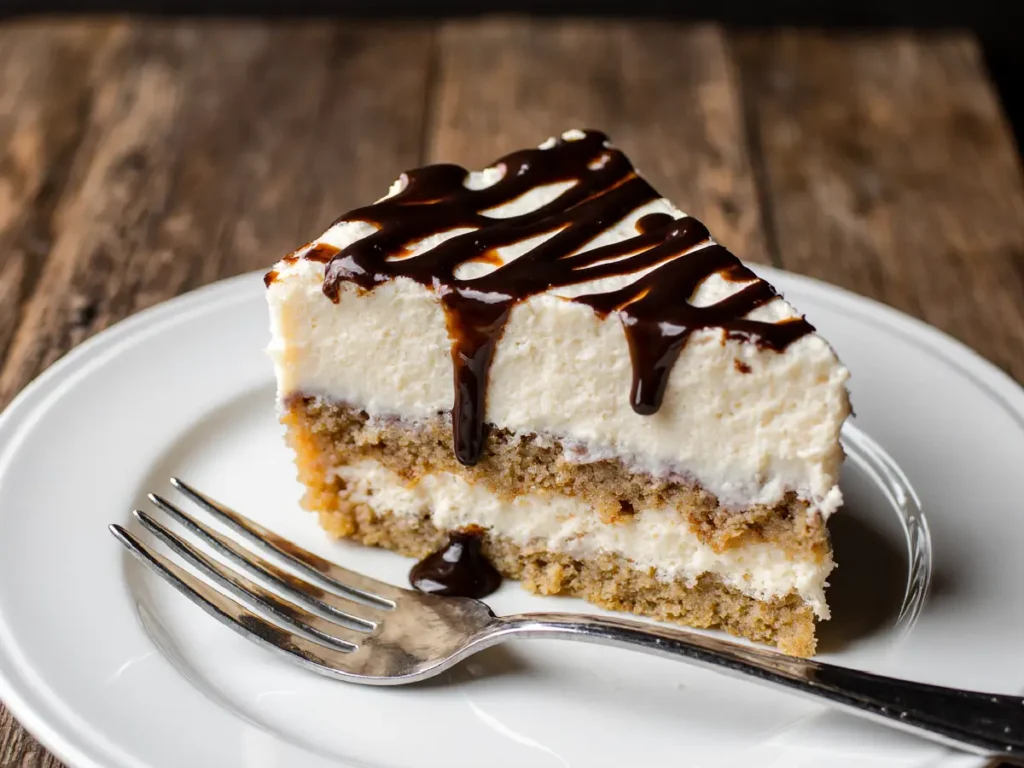
Tres Leches Ice Cream (No Machine Needed)
This recipe combines my love for traditional tres leches cake with the convenience of no bake frozen desserts. It’s been the most requested recipe on my blog for three summers running.
Mix one can of sweetened condensed milk with one can of evaporated milk and one cup of heavy cream. Add a tablespoon of vanilla extract and a pinch of salt. Pour into a freezer-safe container and freeze for two hours. Remove and stir vigorously with a fork to break up ice crystals. Repeat this every hour for four hours, then freeze until solid.
The stirring is tedious, I won’t lie, but it’s what creates that creamy texture without a machine. I usually do it during commercial breaks when Sofia and I are watching our telenovelas together. It’s become our little ritual.
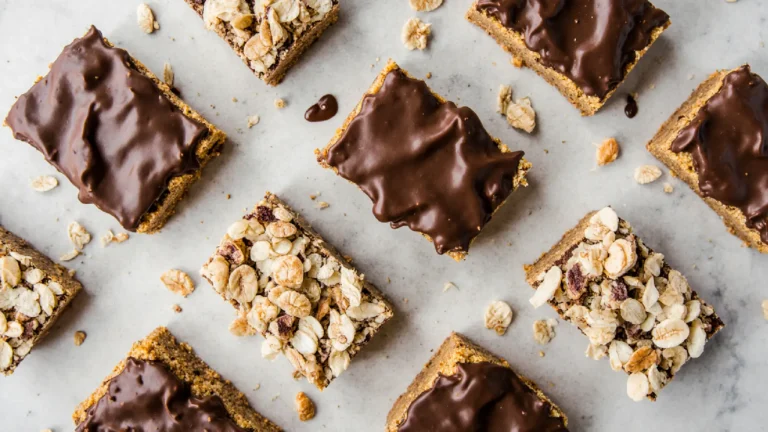
Frozen Chocolate Peanut Butter Pie
You don’t need fancy equipment for this—I’ve been making this with the same mixing bowl for fifteen years, and it’s always a hit.
Crush a package of chocolate sandwich cookies (yes, the cheap store brand works perfectly). Mix with four tablespoons of melted butter and press into a pie pan. Freeze for fifteen minutes.
Beat eight ounces of softened cream cheese with half a cup of peanut butter until smooth. Add three-quarters cup of powdered sugar and a teaspoon of vanilla. In a separate bowl, whip one and a half cups of heavy cream to stiff peaks, then fold it into the peanut butter mixture.
Spread over the frozen crust, smooth the top, and freeze for at least six hours. Before serving, drizzle with chocolate sauce if you’re feeling fancy, but honestly it’s perfect plain too.
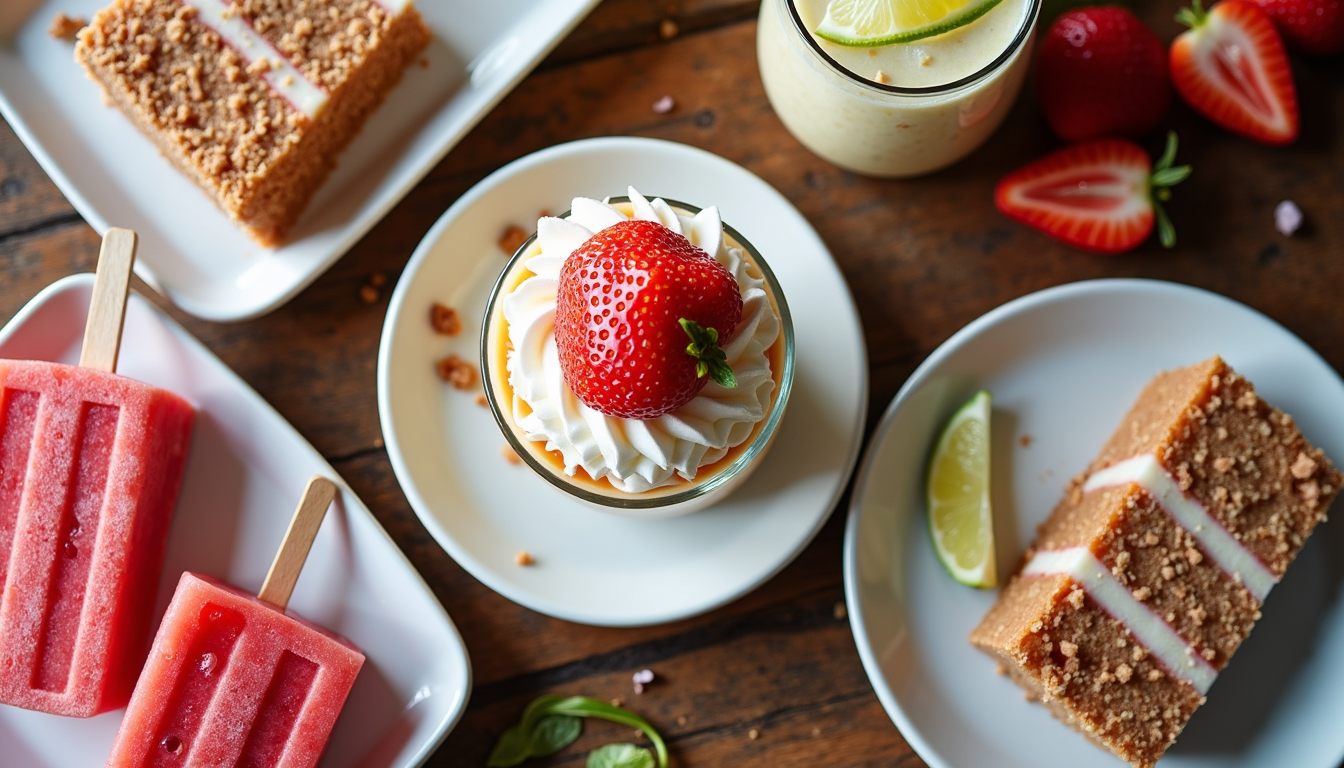
Mango Coconut Paletas (Mexican Ice Pops)
My abuela used to make these every summer, and now they’re Sofia’s favorite. She even helped me photograph these for the blog, though she ate three when she thought I wasn’t looking.
Blend two ripe mangoes with one can of coconut milk, a quarter cup of honey, and juice from one lime. Taste it—if your mangoes aren’t super sweet, add a little more honey. Pour into popsicle molds or small paper cups with wooden sticks.
Freeze for at least six hours. To unmold, run the outside of the mold under warm water for a few seconds. These taste like sunshine and remind me of visiting my abuela in the summers.
Cookies and Cream Frozen Dessert Bars
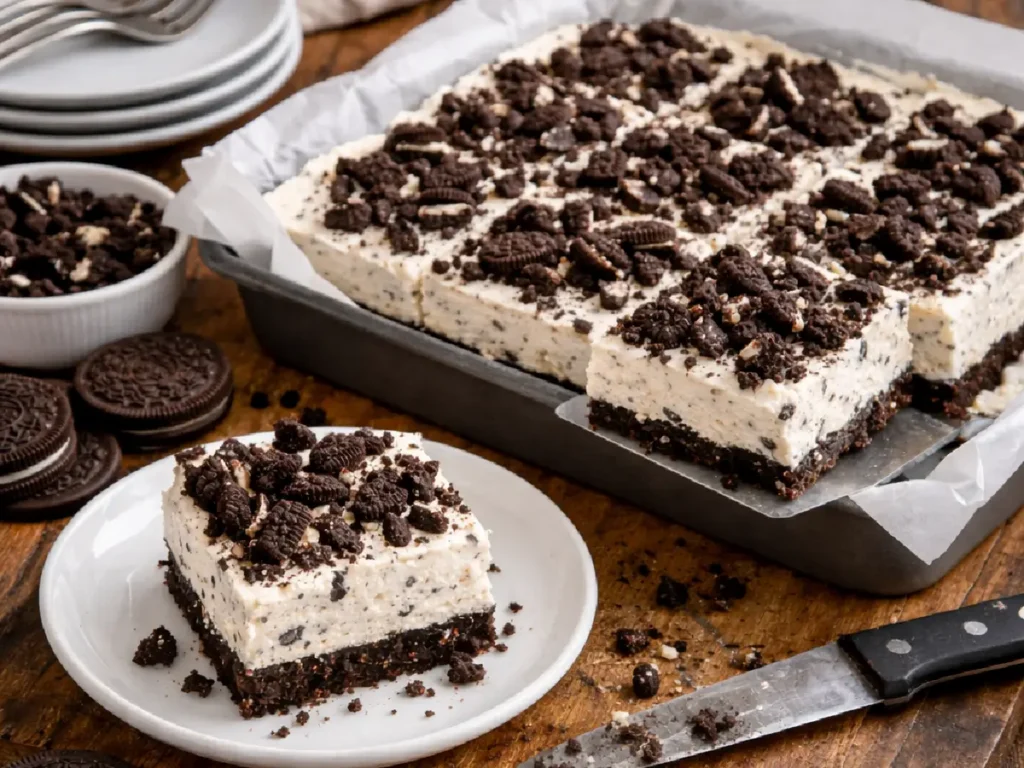
This is what I make when I need to feed a crowd on a budget. One pan serves twelve people and costs less than a store-bought cake.
Line a 9×13 pan with parchment paper. Crush an entire package of chocolate sandwich cookies—save about a third of them for topping. Mix the rest with one stick of melted butter and press into the bottom of the pan.
Whip two cups of heavy cream to stiff peaks. In another bowl, beat one package of softened cream cheese with one can of sweetened condensed milk and two teaspoons of vanilla until smooth. Fold the whipped cream into the cream cheese mixture gently.
Spread half the mixture over the crust. Sprinkle with half the reserved cookies. Add the remaining cream mixture, then top with the rest of the cookies. Cover and freeze for at least four hours.
Let it sit at room temperature for ten minutes before slicing. The parchment paper makes it easy to lift out and cut into perfect bars.
Budget-Friendly Tips I Learned the Hard Way
Listen, I know what it’s like to stretch a grocery budget. Between Sofia’s college fund and helping my mother with her medications, I’ve gotten creative with making delicious desserts without spending a fortune.
Buy ingredients that do double duty. Sweetened condensed milk makes incredible frozen desserts, but I also use it for coffee, fudge, and key lime pie. Graham crackers become crusts, snacks, and s’mores. When an ingredient earns its keep in multiple ways, it’s worth the investment.
Shop ethnic markets for better prices. My local Mexican market sells vanilla extract, sweetened condensed milk, and cream for significantly less than the big grocery stores. Plus, the quality is often better.
Use store brands without shame. I promise you, your frozen dessert won’t know the difference between name-brand and store-brand cream cheese. Save your money for things that actually matter, like good vanilla extract.
Seasonal fruit is your friend. In Texas, we get amazing strawberries in spring and peaches in summer. I buy them when they’re cheap and abundant, then freeze them for later. Frozen fruit actually works great in many no bake frozen desserts since you’re freezing everything anyway.
Make big batches and freeze in portions. If I’m already making one frozen dessert, making two takes barely any extra time. I wrap the second one well and store it for up to three months. Future Maria always thanks Present Maria for this.
Adapting No Bake Frozen Desserts for Dietary Needs
Over the years, I’ve learned to adapt my recipes as Sofia’s friends come over with different dietary requirements. My abuela always said that hospitality means making everyone feel welcome at your table, and that includes accommodating food needs.
For dairy-free versions, coconut cream becomes your best friend. The full-fat kind in cans works almost exactly like heavy cream—you can even whip it if you chill the can overnight. Combine it with coconut condensed milk (yes, it exists) and you’ve got a creamy base that rivals any dairy version.
For lower sugar options, I’ve found that using ripe bananas as a base creates natural sweetness without added sugar. Blend frozen bananas until smooth and creamy, then mix in whatever flavors you want. It won’t taste identical to traditional recipes, but it’s delicious in its own right.
For gluten-free crusts, swap graham crackers for gluten-free cookies or simply use nuts ground with a little sugar and butter. Mrs. Johnson’s daughter has celiac disease, and she says she can’t even tell the difference.
Common Mistakes (That I’ve Definitely Made)
Let me save you from some of my own kitchen disasters.
Over-mixing kills the fluff. When you’re folding whipped cream into other ingredients, stop as soon as everything is combined. Keep mixing and you’ll deflate all that beautiful air you worked to incorporate.
Forgetting to line your pan leads to tears and frustration. Trust me, I once had to thaw an entire frozen dessert just to get it out of the pan because I skipped this step. Learn from my mistake.
Not softening cream cheese properly creates lumps that no amount of mixing will fix. I used to try microwaving it, but that just melts the edges while leaving the middle solid. Now I set it out for an hour before I start, or I cut it into chunks and let those soften for thirty minutes.
Skipping the taste test before freezing is risky. Freezing dulls flavors slightly, so your mixture should taste a little sweeter and more intense than you want the final product to be. I learned this after making an entire pan of under-sweetened dessert that tasted like frozen disappointment.
Not allowing proper freezing time ruins the texture. I know you want to dig in immediately, but most no bake frozen desserts need at least four to six hours to set properly. Overnight is even better.
Creating Your Own No Bake Frozen Dessert Recipes
Once you understand the basic formula, you can create your own signature desserts. This is where the magic happens—where you get to put your own spin on things.
Start with a base you love. Maybe it’s that tres leches mixture I mentioned, or maybe you prefer a cream cheese base. Add your favorite flavors—coffee, caramel, fruit, chocolate, whatever speaks to you. Then think about texture—do you want crunchy cookie pieces, a smooth cream, or layers of both?
Sofia and I experiment with new combinations all the time. Some are disasters (we don’t talk about the jalapeño chocolate incident), but some become family favorites. Her latest creation combines dulce de leche with crushed cinnamon cookies, and honestly, it might be better than anything I’ve come up with.
Seasonal Variations Throughout the Year
In summer, I make mango and strawberry versions constantly. The heat makes everyone crave cold, fruity desserts, and these come together so quickly that I can make them even when it’s too hot to think.
Fall brings pumpkin spice (yes, I’m one of those people), apple cinnamon combinations, and Mexican chocolate themes. I use the same basic techniques but swap the flavors to match the season.
Winter is all about peppermint, eggnog flavors, and rich chocolate combinations. Even though it’s cold outside, there’s something special about ending a holiday meal with a frozen dessert—it’s refreshing after all that heavy food.
Spring means strawberries, key lime, and anything citrus. It’s my favorite time for no bake frozen desserts because the fruit is perfect and everyone’s ready for something light and bright.
🍨 Seasonal Flavor Matcher
Select your current season to discover the best no-bake frozen dessert flavors!
Maria’s Recipe Recommendations:
Making Memories With Frozen Treats
Here’s the thing about no bake frozen desserts that I’ve come to appreciate most—they’re not just about the food. They’re about the process, the time spent together, the memories created.
Sofia might have rolled her eyes when I said we were making “fancy” cookies into a frozen dessert, but she was right there with me, crushing the cookies and sneaking bites when she thought I wasn’t looking. My mother sits at the kitchen table while I work, telling me stories about how her mother made frozen treats during her childhood in Mexico.
My neighbor Mrs. Johnson always asks for the recipe, and I always tell her the secret ingredient is making them with someone you love. She laughs, but I’m not entirely joking. These desserts taste better when you’ve made them with your daughter, when you’ve shared the spoon with your mother, when you’ve brought them to a friend who needed cheering up.
Storage and Serving Tips From Years of Experience
Most no bake frozen desserts keep beautifully for up to three months in the freezer if wrapped properly. I use a layer of plastic wrap directly on the surface, then wrap the whole container in aluminum foil. This prevents freezer burn and keeps flavors fresh.
For serving, presentation matters but doesn’t have to be complicated. A simple drizzle of chocolate sauce, a sprinkle of crushed cookies, or fresh fruit makes everything look special. I keep these toppings on hand so I can dress up a simple dessert when unexpected guests arrive.
Remember that five to ten minute softening time I mentioned? It really does make a difference. Sofia used to want to eat things straight from the freezer, but now even she waits those few minutes because the texture and flavor are so much better.
Your Turn to Create Magic
The beautiful thing about no bake frozen desserts is that there’s no right or wrong way to make them. You can follow recipes exactly, or you can use them as starting points for your own creations. You can make them simple or fancy, cheap or luxurious, traditional or completely unique.
What matters is that you’re making something delicious without heating up your kitchen, spending a fortune, or stressing yourself out. My abuela’s wisdom about cooking being joyful instead of a prison? That’s what these desserts embody.
Start with one simple recipe—maybe those cookies and cream bars or the mango paletas. See how easy it is. Then experiment. Add your own flavors. Create your own traditions. Make memories with the people you love.
Because at the end of the day, that’s what food is really about. Not perfection, not fancy techniques or expensive ingredients. It’s about nourishing the people we care about and creating moments of joy together. And trust me on this one—nothing creates joy quite like a delicious frozen dessert on a hot summer day, made with your own hands and shared with people you love.
Now if you’ll excuse me, I need to go stop Sofia from eating all the test batches before I can photograph them for the blog.
Frequently Asked Questions
You can make countless delicious desserts without an oven! No-bake frozen desserts are perfect for this, including:
- Ice cream pies with cookie crusts
- Frozen cheesecakes that set in the freezer
- Paletas (Mexican popsicles) with fresh fruit
- Frozen dessert bars with layers of cream and cookies
- No-churn ice cream made with sweetened condensed milk
These desserts are actually easier than baked ones because you don’t need to worry about oven temperature or baking time. Just mix your ingredients, freeze, and enjoy! Trust me on this one—after making no-bake desserts for eight years, I’ve learned they’re often more forgiving than traditional baked treats.
The “Dolly Parton dessert” refers to a no-bake layered dessert that’s become a Southern classic. It typically features:
- A pecan and flour crust as the bottom layer
- A cream cheese layer mixed with powdered sugar
- Chocolate or vanilla pudding layer
- Whipped cream topping with more pecans
It’s sometimes called “Better Than Sex Cake” or similar variations. The dessert got associated with Dolly Parton’s name because of its indulgent, over-the-top deliciousness—much like her personality!
While the traditional version isn’t frozen, you can easily adapt it into a frozen dessert by using the same layers and freezing instead of refrigerating. It creates a wonderfully rich, creamy frozen treat that’s perfect for summer gatherings.
Here are my top 10 no-bake summer desserts that won’t heat up your kitchen:
- Frozen Lemonade Pie – Tangy, sweet, and refreshing
- Mango Coconut Paletas – My abuela’s recipe that Sofia loves
- No-Churn Strawberry Ice Cream – Made with fresh summer berries
- Watermelon Sorbet – Just fruit, lime, and a touch of honey
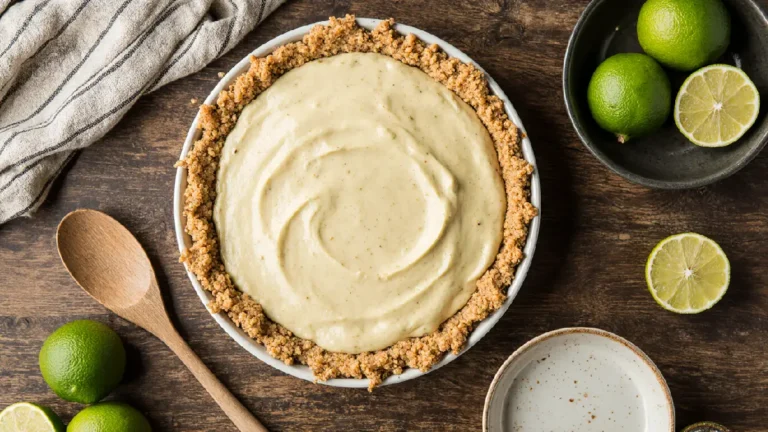
- Frozen Key Lime Cheesecake Bars – Creamy with a graham cracker crust
- Chocolate Peanut Butter Frozen Pie – Rich and satisfying
- Peach Ice Cream Sandwiches – Made with store-bought cookies
- Frozen Tres Leches Cake – A twist on the classic
- Banana Split Popsicles – All the flavors, frozen on a stick
- Cookies and Cream Frozen Bars – Budget-friendly and crowd-pleasing
Each of these can be made with basic equipment and ingredients you can find at any grocery store. No fancy ice cream maker needed!
Finger food desserts are perfect for parties and gatherings! Here are my favorite no-bake frozen options:
- Frozen dessert bars cut into bite-sized squares—my cookies and cream bars work perfectly for this
- Mini ice cream sandwiches made with small cookies
- Paletas (popsicles) on sticks for easy handling
- Frozen cheesecake bites dipped in chocolate
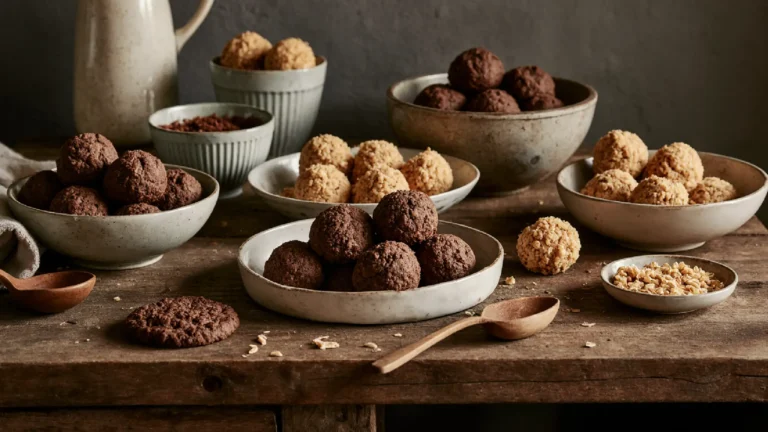
- Ice cream bonbons rolled in nuts or crushed cookies
The key to good finger food desserts is making them small enough to eat in a few bites and ensuring they’re not too messy. For frozen desserts, I always let them sit at room temperature for about 5 minutes before serving—it makes them easier to eat and brings out the flavors better.
My neighbor Mrs. Johnson loves serving frozen dessert bars at her book club meetings. She cuts them small, arranges them on a pretty platter, and everyone can grab one without needing plates or forks. It’s all about making things easy for both you and your guests!
For more recipes follow us on Facebook and Pinterest.
Did you try it?
There are no reviews yet. Be the first one to write one.